
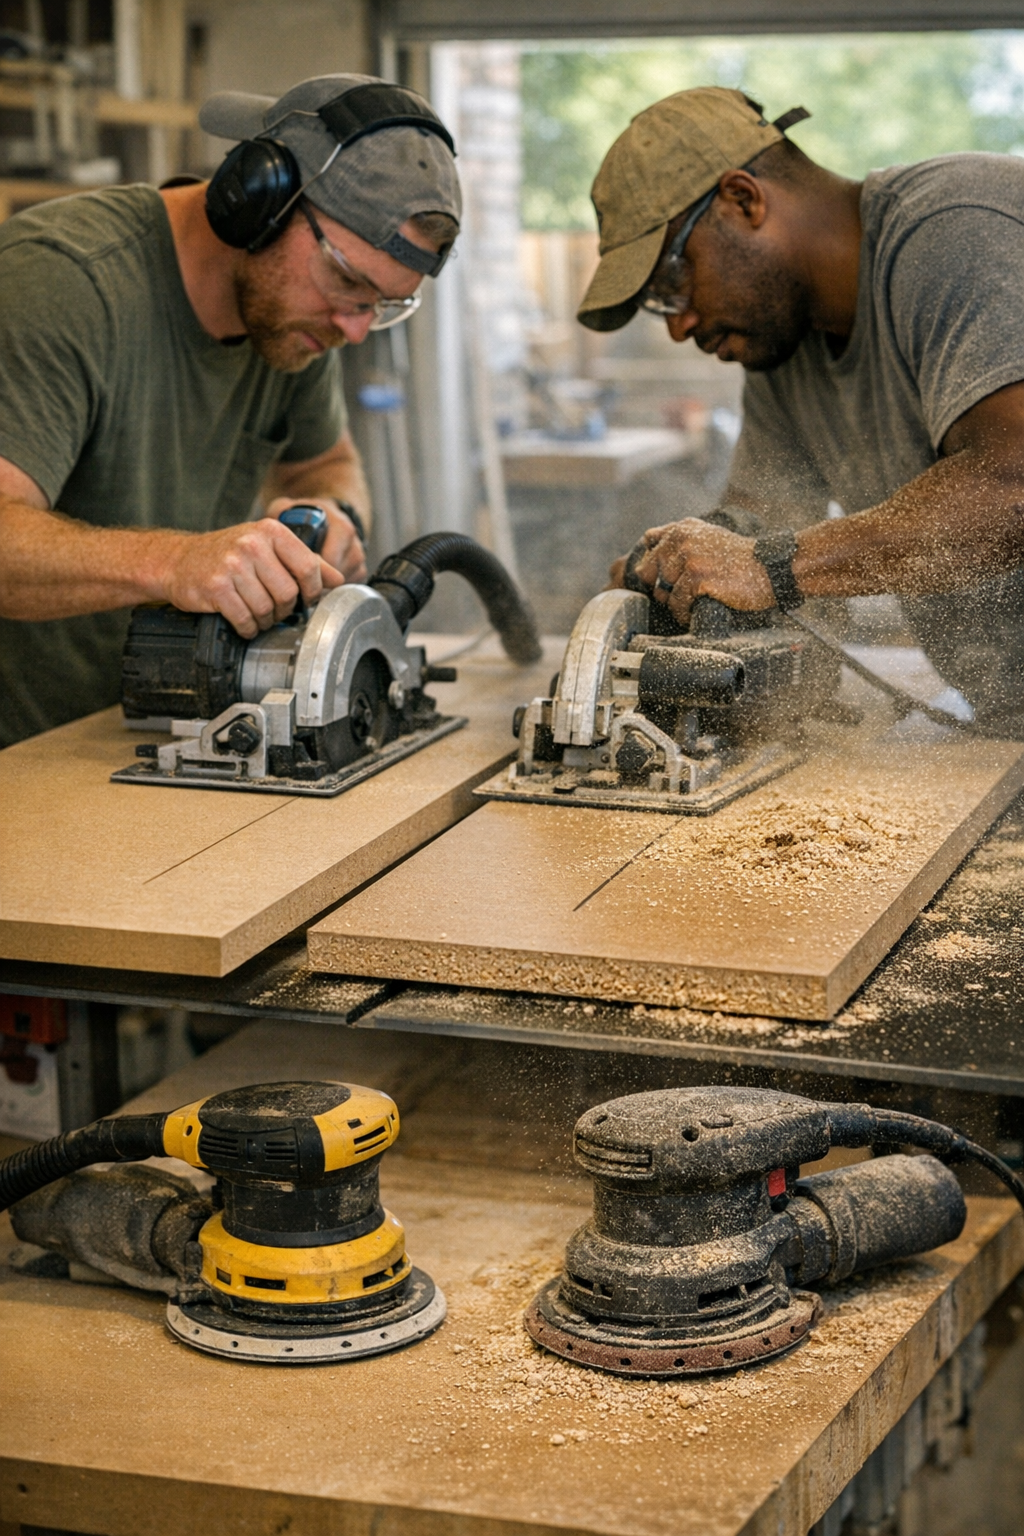
You know the feeling—finish a long row of cuts, reach for the sander, and you’re wading through thick, gritty dust before you even hit the power. It’s not just a nuisance: the haze slows you down, chews through sanding pads, and clings to every surface and crevice no matter how many times you pass the vac. And odds are, the dust started building up long before you grabbed the sander. It starts with your circular saw, your blade, and your setup—the difference between a clean run and a day lost to cleanup, rework, and frustration.
When Fine Dust Turns Routine Into a Chore
No one sets out thinking dust will become the day’s dominant problem. It creeps in—first a thin film after a few plywood rips, then a grainy layer over clamps and guides, until it’s everywhere: on your workpiece, in your lungs, lining every joint. By mid-project, you’re fighting drift: pads clog faster, sanding turns into grinding, and your finish becomes a gamble. Each round of wipe-down and vacuuming eats away at time and patience, while stray grit threatens to gouge even your final coat.
It’s Not the Sander—It’s the Cut From the Start
The real trouble isn’t always your sander or extraction system—it’s the circular saw pass you made at the outset. A dull blade or one with a wide kerf throws out splinters and microchips that even the best dust port can’t keep up with. What looks like a simple cut leaves behind fibers and tiny debris that embed into your piece and float around the bench. Let even a little dust slip through at this stage, and you’re chasing it for the rest of the job, always half a step behind.
Blade Choice: Why the Same Saw Can Yield Different Days
Line up two circular saws side by side—same brand, same amp rating, same battery. It’ll seem like a wash until you actually start cutting real board. Run a sheet of MDF through a fine-tooth, narrow-kerf (say, 2.6mm) blade and you get a crisp, nearly dust-free line. Switch to a slightly duller, wider (3.1mm) blade or let an extraction shroud slip, and suddenly your entire bench is frosted with powder. The difference becomes stark when you’re working fast—trim cuts, rips, stacking parts. One setup leaves the sander ready and your bench nearly clean. The other sets up a chain reaction of grit, clogged pads, and rougher edges that don’t get better with more sanding.
Under Pressure: When Deadlines Expose the Weak Link
You’re knee-deep in a custom shelving job, the clock ticking. Two saw stations on horses, material queued. The crew expects to leap right from cutting to sanding, no downtime. But hour by hour, a stark divide appears. The saw with a sharp, narrow-kerf blade and a snug extraction shroud keeps mess manageable—you can knock out the sander and move on. The other saw—wider kerf, loose shroud—spits a layer of abrasive grit per cut. Suddenly, you’re not just sanding, you’re cleaning the bench over and over, swapping out pads, pushing through fatigue. The pressure isn’t from the woodworking itself, but from losing control over the work zone. Every detail downstream starts to feel harder, slower, less precise.
Fine-Tooth Blades and Tight Fit: A Small Change With a Real Impact
In side-by-side shop tests, simply swapping to a 2.6mm fine-tooth blade and improving the vac shroud dropped visible dust by over a third through multiple MDF rips. What mattered more: sanding was faster, pads noticeably outlasted prior sessions, and finished faces needed fewer touchups. Not every jobsite offers perfect dust collection. But small, deliberate changes to your setup show up everywhere: smoother workflow, less backtracking, and finishing work that doesn’t feel like a salvage operation.
How to Know When Your Saw Setup’s Dragging You Down
Most tradespeople spot the warning signs by feel before they name them. Watch for:
- Dust trails along cut lines, or across guide rails even after a single pass
- Sanding pads that gum up after just a handful of uses
- Cut edges that resist cleanup, staying fuzzy or rough no matter what pad you use
- Persistent residue on surfaces after vacuuming, creating “ghost lines” in your finish
If you’re seeing those tells, your circular saw setup is quietly doubling your workload. It’s usually a worn or mismatched blade, a gapped-out dust shroud, or misaligned extraction port. That means more dust where you work and breathe, more effort for a less predictable result, and a lingering sense that you’re fighting your own tools.
What a Better Setup Actually Gets You
The difference isn’t academic—it’s the kind of change that stacks up week after week. Letting “good enough” persist on your site just piles on extra dust, extra cleaning, and extra mistakes as deadlines get tighter. Upgrading to a fine-tooth, tight-kerf blade and ensuring a tight extraction fit isn’t just about cleaner cuts—it’s about:
- Longer sanding pad life: Less gumming, less heat, fewer costly replacements mid-job.
- Reduced cleanup setbacks: Transition from cutting to finishing can actually be a straight line—no detours with the broom.
- Cleaner, sharper edges: Less chip-out, more reliable glue joints, and a finish that doesn’t betray hidden dust after the final coat.
- Lower fatigue: Fewer start-stop moments to vacuum, less bending and double work, more focus on the craft itself.
Walk any busy project site and you’ll see it: the crews who get ahead of dust keep things moving, with fewer headaches and cleaner results. A sharp setup protects more than your tools—it preserves your workflow, your pace, and your finish quality.
Quick Habit for Clean Passes
If you’re cycling through different materials or facing a rush, keep a clean, dedicated fine-tooth blade at hand for finishing cuts. Check the dust shroud and vac port fit at the start of each shift—just a few seconds here block hours of dust battles later. These aren’t magic fixes, but they’re real-world habits that keep jobs on track instead of bogged down by minor neglect.
Browse practical blades, dust extraction gear, and real jobsite tool solutions at Gumboll.