Category: Lighting & Work Setup

  • How Centering Weight Improves Stability of Dual Monitor Arms

    Two monitors on arms should streamline your desk, not trap you in a slow-motion breakdown. It starts clean: both displays aligned, arms clamped tight, cables tucked just out of sight. But by your second or third real work session—switching between email, browser tabs, document editing—something unwanted drags its way in. One monitor edge sags lower, a cable pops up into view, or the screens drift out of symmetry each time you reset your chair. What looked stable quickly demands another round of hand adjustments, shifting and straightening, or outright unraveling the cable channels. The reality: a “fixed” setup that keeps slipping, forcing constant corrections, eating up attention, and crowding the desk surface you thought you’d regained.

    A Setup That Looks Stable—Until You Start Moving Monitors

    A pair of monitors, no visible clutter, clamp hardware hidden by laptop stands or desk organizers—it’s a workspace worth displaying in a team call. That illusion collapses the moment real work begins. Tug a monitor closer to work on a spreadsheet, swing the left arm sideways to pull up a notebook, or try adjusting both screens for clearer lighting—and you find resistance on one side, drooping on the other, and cables suddenly straining against their tie-down points. One display sags back, leaving the center gap off by a finger width. Even a slightly heavier monitor, a charger plugged in the wrong spot, or cables routed too tightly can warp the whole system. Each hands-on “fix” creates a new imbalance, and by midweek, the supposed clean setup requires more resets than before you brought in monitor arms.

    Desk Depth Disappears Faster Than You Think

    Actual desk depth can’t keep up with dual arms in action, especially on workstations under 24 inches deep. Even if the surface looks clear—a keyboard, notebook, maybe a compact drawer unit—the physical reach gets crowded. Picture two large screens and a laptop stacked above a shallow under-desk bin. Move one screen a few inches forward to zoom in on code, and suddenly a cable bundle scrapes the pencil tray or drops into view across the open notepad. Each pivot for a video call or reference check reintroduces slack, reroutes tension, or crowds the corner where you try to take written notes. After several cycles, the ergonomic upgrade starts to feel more like a rotating puzzle: arms fighting for position, cables never quite tamed, and “usable” desk space shrinking with every new shift.

    Subtle Imbalance Signals That Add Up

    It’s rarely a catastrophic slip—just a cascade of small, repeating cues that scream for attention during normal use. Watch for:

    • Monitor edges that drift out of level by the end of a typing session
    • Cable sleeves easing out and dangling, no matter how tightly tucked
    • Displays that won’t sit quite parallel, requiring a twist every time you log back in
    • Stiff motion in one arm that no longer matches the other’s tension

    Ignore the early warning signs and you pay in lost flow and micro-distractions. Each return to the desk turns into a ritual: rebalance, tuck, reset—a “solution” that keeps demanding your energy.

    Centering Weight Changes Everything

    After enough looped fixes and sidelong glances at a still-tilted display, the breakthrough comes: true balance isn’t about how “neat” things look, but how the actual weight rides the arm hardware each time you move. Instead of just eyeing the bottom edges, align both monitors so their combined center of mass is directly above the clamp and desk edge. Reset the cable channels and leave a purposeful three-inch slack just beyond the mount—no tension, no drag. Once weight and cable paths are centered, each monitor moves on its own, without sending the other off course. The impact is immediate: the desk stays in working shape from session to session, not just after a major reset. No slow-motion drift, no cable snags sliding out with every arm swing.

    Desk Flow: What Actually Gets Easier

    The upgrade isn’t about perfect alignment—it’s about stepping out of the cycle of correction:

    • Monitors remain level, regardless of how often you adjust them in a day.
    • Cables stay out of sight, freeing you from the repeated urge to hide them after every session.
    • Returning to the desk becomes a non-event: no scramble to center the screens, no reach-around to tuck loose power cords.
    • Switching focus between tasks is fluid, not awkward or blocked by a misaligned display.

    Most telling: repositioning a screen doesn’t set off a domino effect of small failures elsewhere. You’re not wrestling hardware or chasing moving targets—the desk starts working with you, not against you.

    Real-world Q&A: Identifying and Correcting Imbalance

    How do you know your monitor arm is out of balance?

    If your screen sags, twists, or creeps out of position with normal use—or if cables slowly squirm back into your work area—you’re facing imbalance. Needing frequent “just right” nudges to keep both displays aligned is your sign that the setup is drifting, not staying set between sessions.

    Does it really matter if one monitor is bigger or heavier?

    Absolutely. Even modest weight differences throw off most arm setups. Adjustable tension helps, but doesn’t solve the root problem if you haven’t centered the load. The heavier monitor wins—pulling that side down at the pivot or wrenching the arm farther than intended—forcing more resets over time.

    Is there a simple fix once monitors start drifting?

    The most effective fix is hands-on: loosen brackets, adjust both screens to the working position you use most, and tighten with the center of mass directly over the pivots. Make sure to leave at least an inch or two of slack in cables where arms rotate—tight routing is the single biggest source of drift or cable pop-out over repeated use. A small, tidy cable loop at the pivot point prevents day-to-day slippage and the need for unplanned mid-week rewiring.

    Why Centered Arms Outperform a Neat-but-Uneven Setup

    There’s a real difference between a workstation you can trust to “hold” and one that quietly slides out of alignment behind your back. Monitors that slip and cables that squirm create invisible friction: extra eye strain, little lags when you hunt for a centered view, cables drooping into the under-desk storage path. Even storage drawers or cable trays work better when the main visible gear stays put. Centered weight in a dual arm setup is the hidden backbone of a desk you don’t have to babysit—and one that actually lets organizers, risers, and bins all do their jobs without new workflow obstacles popping up.

    The Takeaway: Ongoing Corrections or a Trustworthy Desk?

    The real benchmark isn’t a desk that looks organized—it’s one that responds instantly, stays reset between long sessions, and never forces you to repeat the same manual tweaks every day. When weight and cables are centered, friction fades: no more hidden surprises when you return, and no more lost time to endless micro-fixes. You get back a usable work surface, ready for whatever needs to happen next.
    Explore the full WorkBasic collection

  • How Wall Sconces Transform Shared Spaces with Softer Ambient Light

    Ceiling lights fool you at first glance: step into any room with a single overhead fixture, and everything “looks” illuminated. But as soon as you try to work, read, or relax, the real issues show up fast—stray shadows slice across your desk, glare bounces off your screen or glossy table, and you find yourself shifting position or squinting to make out details you thought were covered. Light fills the floor, but leaves corners and work surfaces patchy or harsh. After a few days, you notice your eyes working harder, the urge to drag a lamp closer, or the constant trip of cables stretched between outlets and tables. The whole setup may look minimal, but you’re always compensating for something the light can’t seem to reach or fix.

    Where Overhead Lighting Lets You Down

    On paper, overhead fixtures promise “full coverage.” In reality, the effect is often blunt and uneven. Sit through a couple of work sessions or try winding down on a sofa: shadow lines split your tabletop, while keyboards and documents fade into partial gloom. Every glossy surface turns into a flare point—computer screens, glass-topped desks, even a polished lamp base all catch stray light and create micro-glare you keep shifting to avoid. Table lamps and desk lights edge in as band-aids, their cords trailing wherever you can find a plug, creating clutter that’s always almost invisible but never quite gone. Each quick fix just rearranges the distraction: one day it’s harsh overhead glare, the next it’s a dark edge at your workspace, or a cord in the way of your chair.

    Discomfort doesn’t announce itself in a single moment. It builds in small, repeated frictions—reaching under a shelf and still missing the right edge, readjusting your seat to dodge a bright spot, catching a lamp cable with your foot for the fourth time this week. What looks finished is actually patched together, never quite working for the way you use the space every day.

    How Wall Sconces Change the Equation

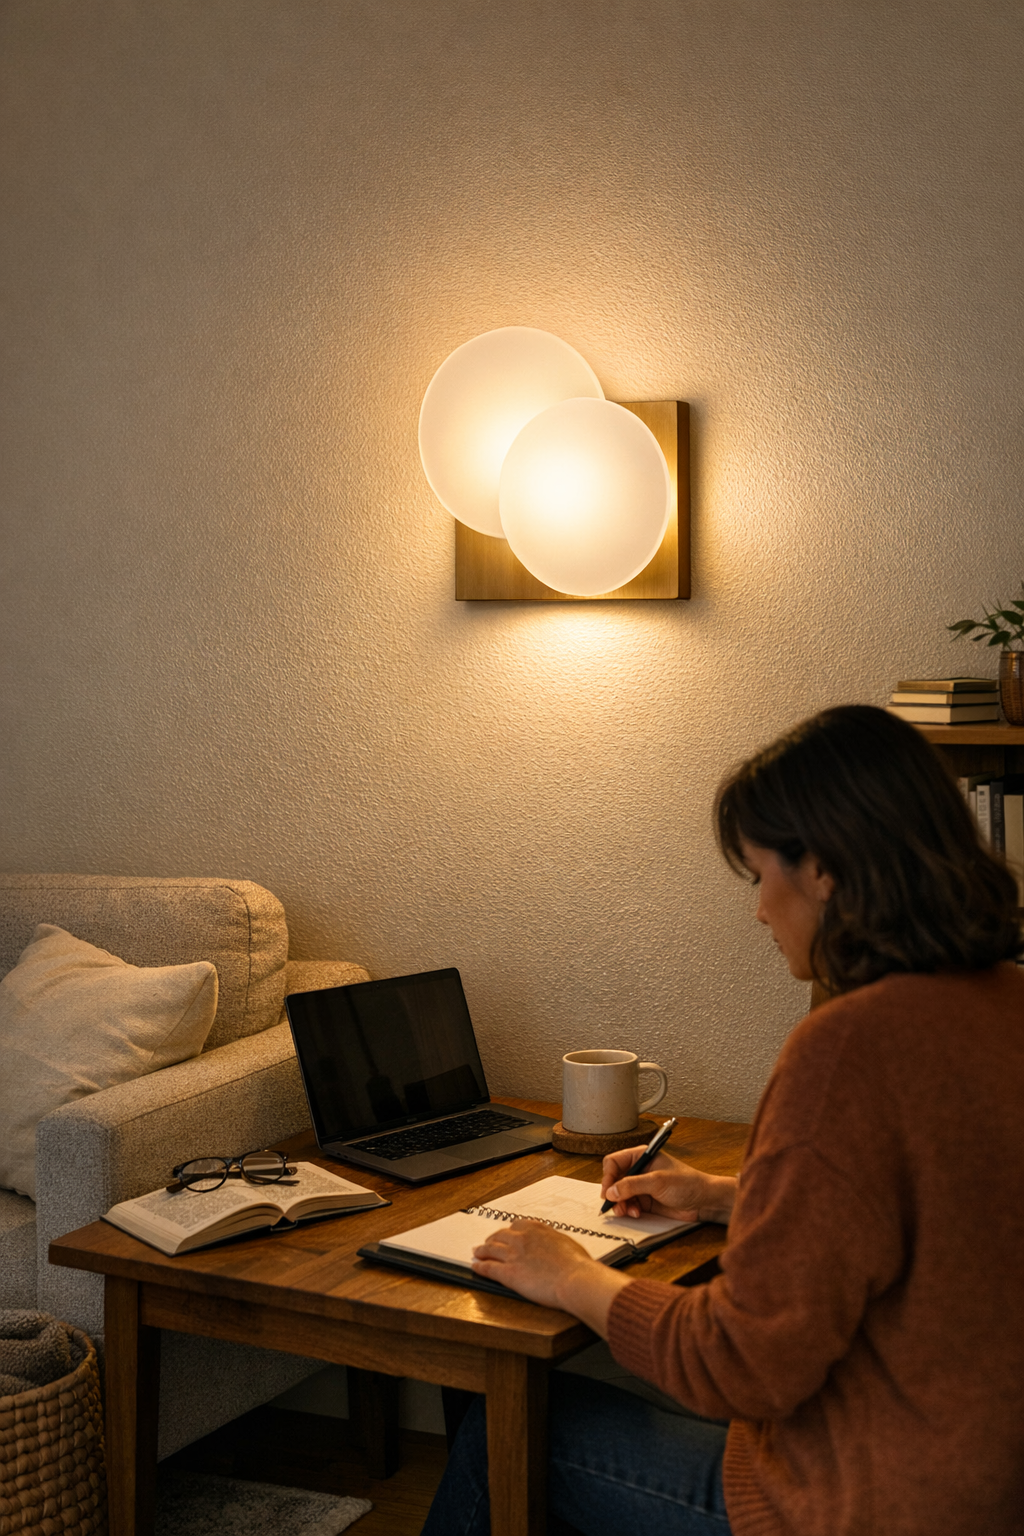
    Wall sconces solve problems overhead lights and desk lamps can’t touch. They send indirect, focused light right where it matters—across a wall, down a reading corner, or along the length of your work surface—flattening shadows and smoothing out glare. The change is immediate in mixed-use rooms: open your laptop in a living space, and the shadow that covered half your writing disappears. The bright “strip” along the wall softens the room and keeps power cords off surfaces, so you stop noticing cables before you can notice the room itself. Sconces shift attention back to where you actually need to see—papers, books, a conversation partner—letting your eyes relax for once, instead of battling sharp contrasts or peering past messy support gear.

    Unlike table or floor lamps, sconces mount off the surface—freeing up valuable desk and shelf space and clearing cables from walking paths. Surface-mount or plug-in sconce options sidestep complicated rewiring, so you can fix problem lighting in an evening instead of overhauling your room. The right placement delivers just enough light for shared tables, shelf runs, or reading zones, without leaking glare where it’s least wanted. Day-to-day, this isn’t a decorative upgrade. It’s a recalibration: the difference between a room that looks assembled and one that finally feels resolved in use.

    Shared Nooks & Real Use Friction

    Picture a corner sofa pressed into double duty—half reading nook, half laptop station. Ceiling light spills straight down: one end is overexposed, almost clinical, while the opposite side is left in a persistent, frustrating shade. The “lit” effect collapses as soon as you try to write, read, or even reach for your charger. Table lamps stretch their cords across floor space, but the trade-off is clutter. The effort of shifting, squinting, or sidestepping cables is ongoing—never dramatic, always a little disruptive.

    Now add a wall sconce, nudged just 30 centimeters toward the middle of the wall. Suddenly, the oversized shadow dividing your table or sofa falls away. Light pools softly across your papers and keyboard, cables vanish against the wall, and the friction of moving from screen to notebook or guest seat fades into the background. The impact isn’t dramatic at first—you just stop interrupting yourself. Weeks later, you realize what’s missing: the urge to rearrange or the routine frustration is simply gone. The area isn’t just neater, it finally supports the routines you need.

    Getting the Height and Spread Right

    For practical sconce placement, aim for mounting at eye or upper-shoulder height—about 150 to 170 centimeters from the floor. This height prevents harsh overhead glare, keeps the spread balanced, and ensures the light spills to where it’s most useful, not just diffused across a blank wall. Go too high, and you redo the ceiling mistake: strong light overhead, shadow where you work. Mount too low, and the glow falls short of the desktop or shelf. The advantage of surface-mount or plug-in models is obvious here: you can test placements and adjust before committing, bringing instant payoff to neglected corners and problem edges, all without opening a set of wire strippers.

    Plug-In Sconces vs. Hardwired Installs

    While hardwired fixtures suit permanent setups, plug-in sconces are the practical route in rentals or multi-function rooms. Run the cable discreetly along the wall; suddenly, surfaces stay clear and you’re not dodging wires every time you sit down or move around. The wall does the visual work—hiding wires and hardware in the background—so the space stays organized after actual use, not just in staged photos. Every return trip to the desk or nook, you notice what’s not there: no crawling for an outlet, no lamp base in the way, no light compromise just because you change seats.

    The Everyday Payoff: Calmer, Sharper, Less Distracting Space

    Routine is the test. Ceiling-centered “minimalism” starts failing as soon as daily patterns set in: tired eyes by midweek, faint gloom at one desk edge, streaky glare across your work or reading surface. Sconces, when placed where you most often work or sit, silently undo those failures. The result isn’t showy: it’s a gradual, steady ease that marks a clear difference after every repeated use. The cables fade. The desktop stays clear. Shadows lose their bite. Appearance matters less than function, and for the first time, your space supports real living—at the desk, under a shelf, across a shared table—without constant editing and workaround.

    If you’re caught in a cycle of glare, dim work areas, or constant cord-jockeying—even in a room that passes for “finished”—lighting layout is almost always to blame. A sconce, panel, or better-placed fixture fixes the real problem: making your space reliably usable, not just visually resolved, from the first day through the hundredth. The next time you catch yourself shifting again, consider if it’s really your furniture at fault—or just the wrong light in the wrong spot.

    For practical, everyday indoor-lighting and lighting-support that actually makes your space easier to use—not just easier to look at—visit LightSupport.

  • Why Choosing the Right Screws Matters for Stable Indoor Lighting Fixtures

    The weakest link in your lighting isn’t the bulb—it’s the screws and anchors you barely look at. Fast-forward two weeks after installing that flush mount, semi-flush, or wall sconce with whatever hardware was lying around. You flip the light on as you cut through a narrow hallway. The base wobbles every time you brush past with laundry. The fixture, which looked level on day one, now sags just enough to throw an odd shadow onto the stair tread—right where you expect clear footing. This isn’t just a crooked look: weak, mismatched hardware quietly unbalances the whole room’s lighting flow, turning safe movement into a second-guess and adding friction to basic routines like cleaning or grooming.

    Where the issue shows up first: the spaces we actually use

    Problem lighting rarely fails in a calmly lit, empty room—it surfaces in hallways at rush hour, bathrooms mid-routine, or stairwells during dusk. The strain isn’t theoretical: one wrong screw and every hallway crossing, quick hand wipe near a sconce, or laundry pass jars the mounting, shifting shadows onto mirror edges or blurring the outline of each stair. The passage looks fine on paper, but your routine tells the real story. Shadows pool at the landing, a sconce tilts a few degrees, and what should be a quick walk turns into an exercise in sidestepping dim spots or readjusting a spinning plate.

    Carrying a full basket down the hall? The brush of your elbow and suddenly the ceiling light, once central, pushes a slant of light across your feet. Or, pause halfway down the stairs—one darkened tread appears as a screw slips; now, the boundary between safe step and shadow is a guessing game. These aren’t rare mishaps. In any space where light serves as your pathfinder, poor hardware multiplies minor annoyances into daily hazards.

    The subtle warning signs: “bright enough” but never settled

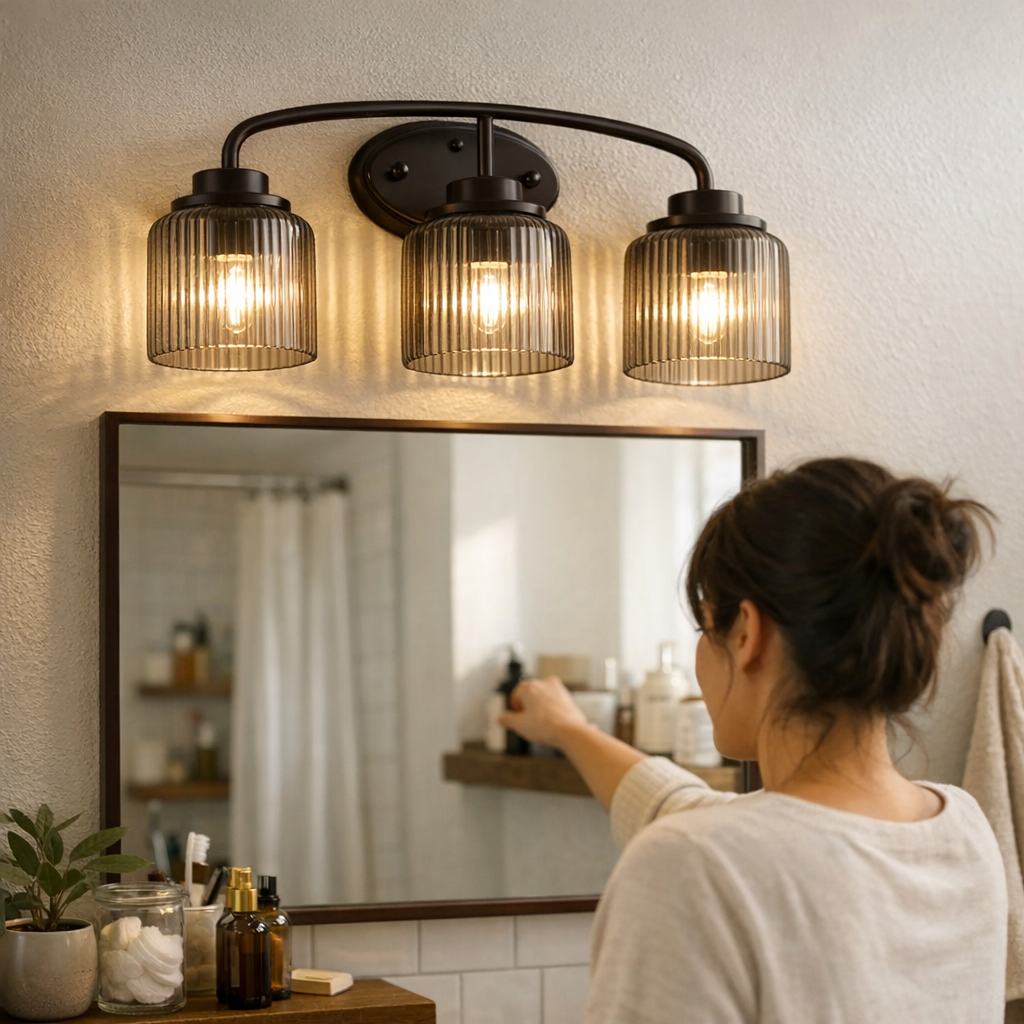
    Failure starts small. A vanity bar wobbles as you clean near the mirror. The fixture at the end sags just enough to put half your reflection in a dim strip while the other side glows. Corner-mounted lights flicker at the slightest movement, glare spikes along a hallway wall, and faded shadow lines creep over the bathroom counter no matter how many times you adjust your routine. The room isn’t dark—but the lighting is always off-balance, forcing you to lean for better coverage or avoid glare that shouldn’t be there in the first place.

    The story behind the fixture: why “random screws” come up short

    Not every screw anchors like a factory-matched set. “Fits the hole” doesn’t guarantee it stays flush in drywall or grips through tile. Too-short screws mean the fixture plate never sits tight; thick, coarse threads split old plaster, and the anchorless install pulls free with each routine nudge. Every flip of the switch or quick swerve with a mop moves the fixture off-axis. Soon, lighting that started square throws uneven beams, loses cross-room reach, and fails at the one job hardware is supposed to solve—quiet, lasting stability.

    The damage compounds in places that see action: bathrooms with constant dampness work screws loose faster; entryways absorb bumps and pushes from bags or coats; under-cabinet strips get wiped and tapped daily. Ignore the right hardware and install turns into maintenance: retighten this week, realign the next, and invent ways to conceal the persistent lean or wobble that never totally vanishes.

    Recognizing the consequences: what uneven installation actually changes

    • Mirror zones where half your face is in shadow and the rest overexposed
    • Stair treads that look uneven because the light leaks sideways, leaving bare spots on steps
    • Fixtures that rotate or droop after a quick clean, turning glare into a moving target
    • Mounting plates that separate from drywall, leaving gaps that draw dust and complicate touch-ups
    • A fixture inches from coming loose in the hallway right where traffic is highest

    The “almost right” install doesn’t just look crooked—it changes the way you move and see. Instead of flowing through the room, you dodge gaps in light, squint at odd patches, or avoid brushing against that misaligned wall light because you know it’ll spin loose. The rhythm of your routine gets bent around bad mounting.

    What works: matching fixture hardware to real-world routines

    You spot the difference on day 20—not day 1. Lighting that holds steady week after week always roots back to hardware picked for surface, fixture, and repeated movement. A flush mount anchored to drywall with the right-length plate screws doesn’t budge from ceiling sweepers or hallway bumps. Vanity bars fixed with moisture-rated anchors stay level even when the mirror is wiped down and the counter is splashed. When hardware matches real use, light flows cleanly—no more shadow-banding across the face, no drifting glare, no patchy coverage at the most-used paths or corners. The best proof you did it right: you forget about the install entirely because nothing shifts or unbalances when life speeds up.

    Bathroom example: Updating to proper anchors and matching hardware stopped the vanity light from drifting, ended the need for constant realignment, and kept mirror lighting balanced for back-to-back mornings—no more split shadows or tilted reflections after a week’s worth of cleaning and steam.

    Hallway example: Swapping out catchall screws for surface-matched anchors left ceiling sconces straightforward—staying centered and upright after hundreds of passes, even as cleaning and daily traffic put them to the test. The corridor finally gets covered top to bottom instead of shading out at one edge or drooping over time.

    Finding the right hardware: small habits, major simplicity

    The shortcut is always the long way. Scan the fixture’s instructions. Check for required screw type, length, and whether anchors are needed for your surface—wood, drywall, tile, or plaster. If faces aren’t solid, anchors aren’t optional. Even two extra minutes matching thread type or test-fitting on a spare scrap saves hours of fixing and hiding flaws later. Use what fits best, not just what’s handy—because the next brush or jostle will reveal any mismatch, but rarely on your schedule.

    Tip: Don’t settle for “almost there.” Try the selected hardware on practice material, confirm grip and alignment, and only commit when the connection holds under actual wiggling—just like it will in real daily use. The payoff: light you don’t have to babysit.

    Why consistent lighting hardware matters for daily clarity

    The right hardware isn’t about what looks perfect during the install—it’s what you never have to adjust again. When you don’t pause to readjust a drooped sconce, fight glare at the stair, or cushion your motion to avoid spinning a loose plate, the lighting finally serves the routine, not the other way around. No new shadows creep over the counter with every cleaning. No stair edge vanishes before your foot lands. Less thinking, less fixing, less dodging. You’re not just avoiding hassle; you’re restoring the quiet expectation that light works every time, in every routine, all through the week.

    Explore reliable lighting solutions and hardware at LightHelper.

  • Why Proper Under-Cabinet Lighting Transforms Shelf Usability and Organization

    The moment you actually use a so-called “tidy” shelf, the illusion cracks. That under-cabinet or shelf light everyone admires? It hides cables, uses low-profile fixtures, and the whole setup looks settled—right until morning when you’re squinting to read labels, chargers and paper piles migrate into shadow, and the most reachable edge stays oddly dim. After a week, the organized look barely matters. Frustration builds as everyday routines stall: things blend into shadow, containers pile up in the brightest spots, and what seemed calm now slows you down. Setup that photographs well keeps showing up as a practical pain point: the real work surface never feels right.

    Lighting Setup: Where Clean Looks Hide Everyday Friction

    Mounting lighting flush against the back of a shelf scores points for appearance. Slim LED strips, tidy bracket attachments, and cables almost invisible—a near-perfect product photo. But let the front edge go dim, and the surface becomes a guessing game. Your hands land there first: plugging in phones, sorting mail, flicking through notebooks, shifting kitchen tools. With the light source too far back, routine puts essentials in shadow every single day. That dim strip at the edge ends up the weak link: missing items, dust gathering in the gloom, daily reaches that feel like searching in a drawer rather than using a shelf. What felt visually strong up close actually encourages missed spots, harder wipe-downs, and a little more squinting or shuffling every time you use the space.

    Lighting isn’t the only culprit. Supports, brackets, and cable runs often look “fixed” right after install, until a misplaced bracket juts into arm’s reach, a cable line loosens and droops, or you catch yourself moving objects out of the line of sight. “Finished” is only as good as the setup’s behavior over time—hidden support points that interrupt actual use show up faster than you expect.

    The Real Cost of Weak Edge Lighting

    Most setups don’t collapse on day one. They slowly become aggravating. By the end of a busy week, bins migrate toward the front, mail piles up where light finally lands, and you start hesitating before grabbing anything: is it even visible? Is it clean? Is there a cable waiting to snag your sleeve?

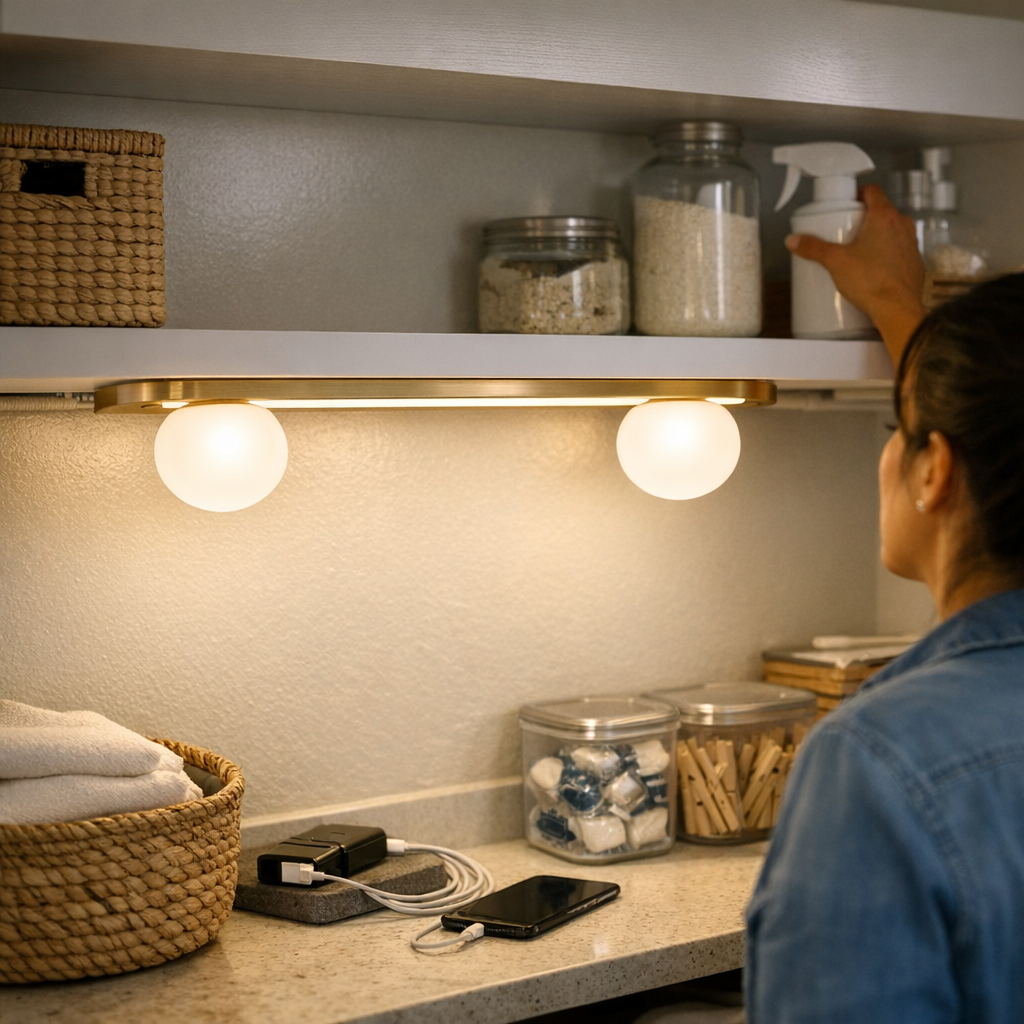
    • Desk scene: That rear-mounted light bar spotlights the monitor and keyboard but leaves chargers, pens, and mail in the shadows. You end up sliding things forward or even lifting them into better light just to read a note or see what’s charging.
    • Kitchen corner: The under-cabinet strip fades halfway across the counter, so the cutting board is half-lit while recipes hunch closer to the splashback. You find yourself adjusting everything to chase the beam—not the routine anyone aims for.
    • Shared laundry zone: A bracket positioned for “no visible wires” leaves a rogue cable drooping into the basket path. Doing a load means dragging baskets around a nuisance you can’t unsee, while stray socks find new places to hide behind the support.

    The friction isn’t theoretical. It becomes habit-breaking, making you pause, repeat, and workaround a surface meant to be simple. The difference is small but stacks up every day.

    Balancing “Clean” Appearance With Real-World Use

    Tucking every fixture out of sight is tempting. Slide one LED strip to the rear; snap photos—mission accomplished. Except, if the working area stays half-lit, you’re sacrificing function for the idea of “clean.” The best setups risk a little more visibility—a bracket that actually supports the fixture closer to the edge, a cable run in plain sight but managed—to claim the territory that matters.

    Bring a wider light bar or panel forward, right to the edge. Maybe the mounting is now visible, maybe a cable trace can’t hide—but suddenly, labels are readable, bins stay sorted in any light, and no reach for the charger comes up empty. The “imperfection” in appearance is the very thing that unlocks a space you can actually use—mess, paperwork, dinner prep, or quick chores. The front-lit surface means the area doesn’t just look finished, it starts feeling easier to live with. Fewer items slide unseen into shadow. Less time is wasted repeating the same move. The trade-off isn’t more mess, but less hidden clutter and missed detail in the first place.

    What a Real Change Looks Like After a Week of Use

    Switching to a front-mounted light bar—bracket visible, cable run plotted along the underside—changes everything next week. You stop shuffling containers in and out just to find that one backup charger. You actually notice spilled coffee and clean it before it becomes a stain. Instead of dodging stray wires or repositioning the light, the space works at the pace you do. Even with multiple people or mixed uses, improvement is bluntly obvious: items get used and cleared away without extra steps, and you’re not stuck fighting the setup with every new routine.

    Staying Ahead of Clutter: Practical Adjustments and Small Fixes

    • Move fixtures toward the working edge. Mount a light bar or panel along the front—angled if needed—to cover where hands and objects actually land. Accept a little visible hardware: the payoff is instant edge clarity, no more accidental dark corners, and fewer fumbled reaches.
    • Handle cables before they distract. Every visible cable is either managed or in the way. Secure lines along brackets or the underside of shelves with slim adhesive clips; if one cable is loose for a day, it’s a snag point for weeks. Visual calm comes from cables you never think about after day one.
    • Test after several days, not just post-install. If you keep moving objects, wiping one shadowy area twice, or shifting gear to catch more light, the setup is still off. Useful is what works on the fifth use—not just what looks finished in the first hour.

    Edge Lighting and Support: Not Just a Quick Fix, But a Routine Upgrade

    Success is a shelf or counter you forget about—because it just works. Light that covers the full usable area, cables that never leave you dodging or detangling, a surface that looks ready but also stays available through real routines. Perfect in photos means nothing if you’re still reaching or reorganizing every day. Some visible hardware is better than hunting for what you need in gloom. Slightly exposed, stable support will always beat a “barely-there” option that keeps shifting out of place—or forces workarounds that become new clutter.

    Spotting the Tipping Point: From Appearance to Ease

    If the same section of shelf or counter keeps becoming a frustration zone—lost chargers, stacking bins just to see what’s behind, rearranging clutter that creeps back—don’t just reorganize and hope. The problem repeats because setup structure, not just neatness, is what needs attention.

    • Corners where cables and pocket clutter keep returning, no matter how many times you reset
    • Dim shelf edges that stay murky, even with ceiling lighting on full
    • Brackets sliding, cable guides loosening, or support lines drifting into view—visual “fixes” that quickly unravel
    • Surfaces that check every “done” box by looks, but still interrupt the routine or leave you annoyed after each use

    These are the sites where a blunt lighting or support upgrade stops the daily friction—not just for the sake of appearance but to make the area work without thinking about it.

    Explore lighting, mounting, and support options designed for real indoor setups and repeat use at LightSupport.