
You rarely hear nail blowout coming—it’s the kind of trouble that sneaks up in the blur of a real job. One minute, every fastener is landing flush and hidden; the next, your finger brushes a hairline split, or a nail head winks out from a stretch of pine baseboard that’s supposed to look finished. These aren’t catastrophic misses—they’re the slow leaks that drain time and patience, especially when the day’s goal is to get the trim installed and move on.
The warning signs are almost invisible at first: a slight vibration through the glove, a little more resistance on the trigger, or a surface that suddenly doesn’t feel as smooth under your hand. But push through, try to keep pace, and it adds up fast—cracked casing, wandering fasteners, and a patchwork of filler spots you’ll end up chasing long after the nailer’s been put down. That’s the softwood fight every pro and weekend remodeler recognizes: a rhythm interrupted by tool drift and the unforgiving nature of pine and poplar, where soft grains amplify every small slip.
Why Nail Blowout Happens—And Why Softwood Fights Back
Most nailers impress during the first careful passes. Sink a 16-gauge nail into clean, straight pine, and you’ll get a satisfying bite—so long as you’re slow. But real work isn’t slow. It’s pushing through awkward corners, reaching across stair treads, working around furniture that should’ve been moved first. What you chose—a brad or finish nail, a 16-gauge or lighter 18—suddenly matters when your arms are tired and you’re firing to keep the day moving.
The real enemy isn’t the wood, it’s the gradual mismatch between what the tool is doing and what the material needs. Every bump of the nosepiece, every unnoticed notch on the depth dial, every hour your grip wears out—all these shift you closer to a missed seat or an ugly split. And the softer the wood, the more those imperfections grow.
Tool Settings and Fastener Choice: The Errors That Sneak Up
Jobs rarely get wrecked by big mistakes. Instead, it’s a rolling series of small mismatches that creep in. Nailer settings drift. Pressure jumps five PSI high after a compressor cycle. The fastener feels “right enough” until it isn’t—too thick, too long, or just a hair too aggressive for thin trim or patchy pine.
Production speed only makes the problem worse. What started as perfect becomes a spatter of repair zones—filled holes and feathered cracks—halfway through the wall before you even notice. And by then, the only options are sanding, patching, or retracing your steps row by row.
Real-World Example: Where the Weak Link Shows First
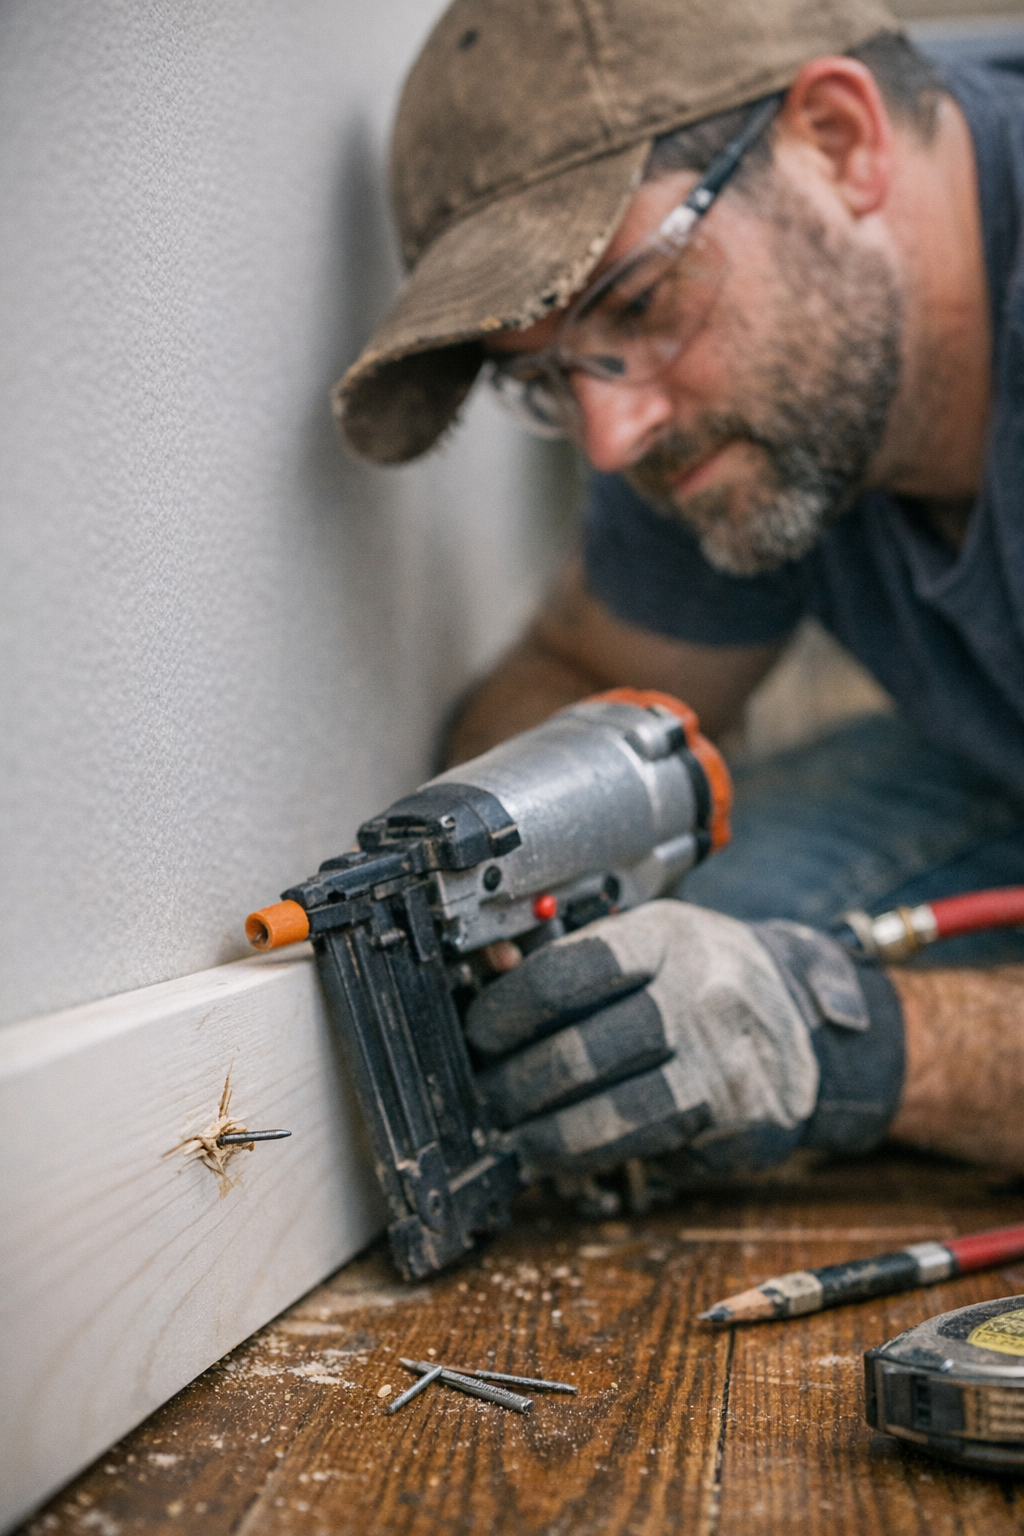
Picture the end of a long day: you’re knocking out baseboards in a cold mudroom, last light slipping through the window, compressor kicking underfoot. The boards start crisp. By the twelfth panel, your grip’s off, the tool’s heavier, and surface resistance flickers in your wrist. You work ahead of your own inspection. It’s not until a hand-sweep at the end that you notice the raised seams—evidence of tiny blowouts that snuck past in the push for speed.
The fix wasn’t changing brands or models. It was dialing back pressure, swapping a 16-gauge for an 18, rechecking angle and approach, and—just as crucial—building in quick checks. With the right tweaks, repair time drops. The workflow evens out. You keep momentum, because you’re no longer stopping to fix what you just finished.
Nail Blowout Anatomy: Technique Versus Tool Limits
Most blowouts trace back to where method and material lose sync. The usual suspects:
- Nails too thick for the board’s give
- Fasteners fired too close to the edge or directly along grain lines
- Depth or pressure cranked too high, sending nails through instead of seating flush
Working faster only piles on error. Skip one flush check, and the small mistakes multiply. The end result: the last board needs twice the patching as the first.
Smart Course Corrections in Real Time
Softwoods are unpredictable. Two pine boards, same batch, can behave differently. The setting that’s perfect on the left wall can blow right through on the right. A quick check every handful of boards—feel the surface, inspect the seat—pays back an hour you’d lose to fixing missed blowouts. Pausing isn’t wasted time when it dodges a bigger fix later.
Angles, Grain Direction, and How Blowouts Happen Anyway
Firing straight in is easier, but it’s also how splits happen—especially on edge or with cheap trim. Tipping the tool, even a little, lets the nail ride the grain, not fight it. And when you cross knots or hit denser streaks, watch for deflection—a previously invisible brad can veer off, ruin a face, or pop out the side before you even see it coming. Staying alert, switching your approach, and never relying solely on muscle memory keeps the repair pile down.
Work tip worth repeating: If your nailer kicks or the trigger feels odd mid-run, don’t just press ahead. Stop and look at what just happened. That’s often all the warning you get before a pattern of splits starts, either from a drifting setting or a subtle change in the material.
Stopping Patchwork Before It Starts: Routine, Not Perfection
Most blowouts can be contained—if you spot the pattern fast enough. It’s when tiny failures start multiplying up and down the run that sanding and filler take over your evening. Build small habits into your workflow: drag a palm along each stretch of new trim, rest your eye on the seam, and reset before minor issues get out of hand.
You’re not aiming for showroom perfection on every board. The real win is steady progress and catching tool drift before it becomes another hour lost to patching. When your settings, nail choice, and angle align with the wood in front of you, you finish faster and with less waste—and the job stands up when someone inevitably runs a finger along that seam months down the line.
For more work-tested tools and accessories that keep daily fastening, sanding, and cutting on track (even when the job throws you curves), visit Gumboll.