
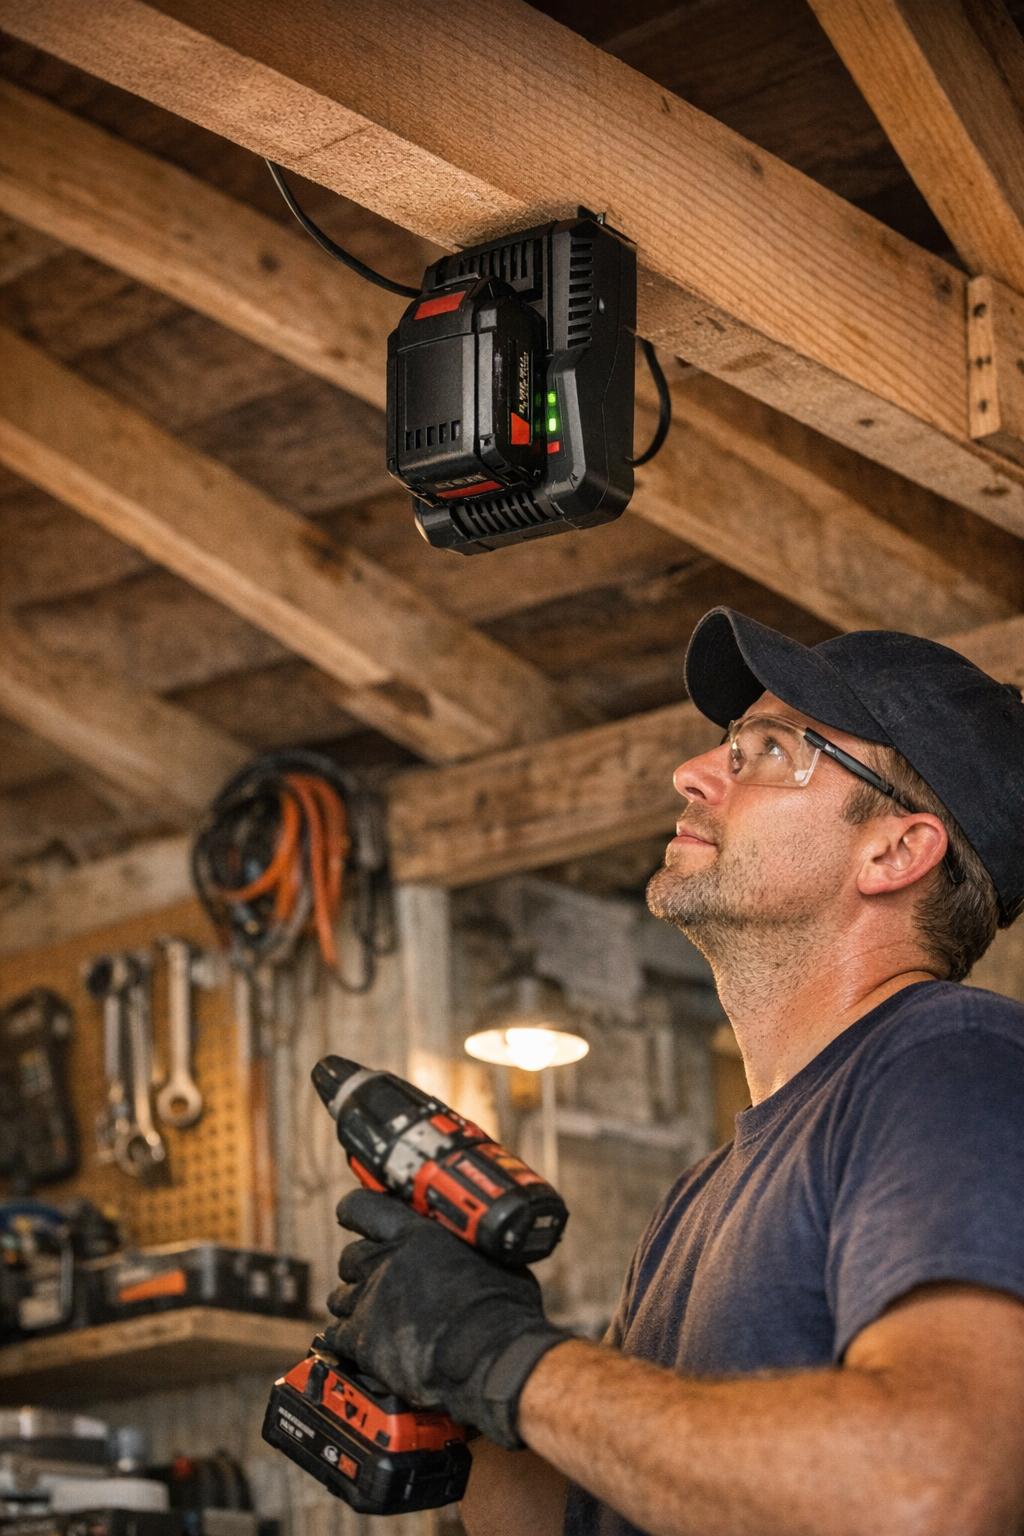
No one plans for battery problems in the middle of a job—until it wrecks your day. You’re halfway through a big cut, the next battery swap lined up, when the charger refuses to cooperate. Suddenly, what started as a quick garage sprint turns into a drawn-out standoff: batteries stalling out, runtime sagging, and every precise cut or straight drill line threatened by power loss you didn’t see coming. If you’ve ever leaned over for that last charge before dusk—only to find the charger too hot to hold—you know just how fast a smooth workflow collapses when the charger fails you.
Heat: The Silent Saboteur in Real Garages
With a single pack, most chargers coast along. But actual work doesn’t happen at half speed. Try running through three or four batteries: mapping stud lines, trimming door trim with a saw, punching pilot holes for lags, then rolling over to sanding edges. There’s always another battery waiting its turn, and the charger barely sees a break. As the hours tick by and inside temps creep over 80°F, the early warning signs turn up:
- The charger plug-end gets that sticky warmth
- Power cords grow limp, almost rubbery, after a long run
- Plastic around vent slits sours to a weird off-color or smells faintly burnt after back-to-backs
This silent heat buildup can rob full charges, quietly gut runtime, and leave every drill bit or circular saw blade working harder against dwindling power. If you start blame-checking the tool, you’re missing where the real slowdown begins.
What Charger Stress Actually Costs You
It’s rarely the sloppy cut or dull blade that sabotages your day—it’s missed battery handoffs. You’re working fast: driving deck screws, notching out jambs, cleaning up with a sander before rolling into the next task. Battery runs dry, you grab what should be a ready swap—except the charger has gone into thermal lockout. Red light, and nothing moves.
Now options shrink fast. Drag out the noisy corded drill you hate for finish work? Risk a draggy, half-spent battery and feel the RPMs dip halfway through a screw? Or just stand, hands in pocket, watching LED indicators while dust settles and the garage cools. Every lost minute interrupts the flow—tripping up your blade control, pushing tomorrow’s prep later, even making clean-up a chore you didn’t plan for.
The Problem with “Smart” Chargers Under Actual Load
Chargers love the “fast” and “smart” branding—until faced with real-world pressure. They look the same on a shelf, slick in the catalog, promising rapid trays and flexibility. But side by side, the differences get ugly in practice: One accepts battery after battery without flinching—case is warm, but steady, and swap-outs keep pace with your work. The other’s fan roars, its shell almost burns you after charge two, and then it hard-stops, forcing you to wait. The culprit? Skimpy internal heatsinks, cheap casing, budget cuts you only discover when battery rotation gets dense.
Specs mean little if your workflow stalls by noon.
Charger Placement: The Simple Fix With Outsize Results
The best charger means nothing if you banish it to a dead-air shelf or bury it on carpet. So many garages end up this way: charger half-lost under dropcloths, wedged behind bins, or pressed against insulation that smothers air flow. That’s how small heat issues become battery graveyards. But move the charger—hang it vertically with a half foot of empty air all around, up where the heat can actually escape—and you flip the script. Natural air flow starts to do its job. On swampy days, that means your charger can run 15-20°F cooler, even when the rest of the garage is thick and still.
- No more burnt-plastic smells sneaking up mid-run
- Charging times stop those inexplicable mid-afternoon lags and “cool down” pauses
- Packs actually finish, so your next cut or sanding pass isn’t compromised by secondhand power
It’s a tiny adjustment—five minutes on a rafter, a twist of a mounting bracket—but it means the difference between finishing on your terms or scrambling for one last desperate charge at sunset.
Don’t Brush Off Warning Signs
If your charger feels sticky, stinks of melted plastic, or routinely cuts out, it’s more than just “running warm”—it’s failing. And in the chaos of garage work, every lost cycle throws off your flow: a dead battery means the random-orbit sander waits, the impact driver sits, and nobody gets to start cleanup until the charger finishes reconsidering its life choices.
Don’t fall for the “stack them all up” habit. Sidelining chargers shoulder-to-shoulder, or planting them on dense shelves, turns every fresh task into a waiting line for cool-downs. Especially when bouncing between soft pine drilling and grinding down MDF, or flipping from jigsaw to multi-tool, you can’t afford for your charger to dictate how many steps you take—or how crisp your cut lines look.
Two Moves That Instantly Improve Battery Rotation
- Give It Breathing Room: Mount your charger vertically, free on all sides—at least six inches clear. No more bins, no burying it on carpet scraps, no trapping it in shelving cubbies.
- Keep It Clean: Hit the charger with a dust-brush every couple weeks—the same way you’d flick grit from a blade or blast out a stuck sander pad. Caked dust traps heat, leeching performance and lifespan without a sound.
Why a Reliable Charger Matters More Than You Think
Every cut, every tight fastener, every hour spent sanding relies on the next battery being truly ready. Unpredictable charging doesn’t just slow you down—it breaks precision, ruins your project rhythm, and leaves every tool working harder for the same result. Mount your charger right, keep it clear, and match it to your real pace, and you’ll start noticing jobs flow smoother: fewer stops, sharper blades, less end-of-day fatigue.
When the charger keeps up, the tools deliver—and you finish the project exactly when (and how) you planned.