
There’s a familiar thud of disappointment that hits every time your so-called “clean cut” turns into another repair job. You line up your reciprocating saw, start strong, and by the end of the cut, you’re patching splintered edges or filling gaps you didn’t plan for. The frustration isn’t just about rough lines—it’s about wasted time, extra cleanup, and the nagging sense you’re wrestling the tool instead of working with it.
Why Good Cuts Go Bad as a Project Progresses
That first pull through drywall is effortless. The blade hums, the dust drifts, and you’re reminded why demolition sometimes looks easy on camera. But as the day stacks up—moving from open space to awkward angles, from fresh wood to mystery studs loaded with old nails—that sense of control starts to fade. A shoe that’s floating a quarter inch off the workpiece doesn’t seem like a big deal at first, but several cuts in, the difference is hard to miss: lines wobble, vibration doubles, and you’re reaching for patching compound yet again.
It’s not about getting one cut perfect. The real challenge shows in the third stud, the fifth section of drywall, the endless parade of oddball framing. Over a long session, neglecting shoe pressure turns minor wander into a recurring headache—especially when every “just a little off” line adds up on finishing day.
When Shoe Bracing Fails, Repairs Stack Up
Picture the scene: You’re halfway through a window demo, shoe pressed firmly on the sill. Then you hit a patch of buried fasteners, your grip slips, and for just a moment, the shoe lifts. That’s all it takes—suddenly the blade kicks, tracks off line, and you’re left staring at ragged plywood and splintered trim. One lapse in pressure becomes a half-hour erased, with repairs eating into any progress you thought you’d made.
The problems multiply. With each floated pass, heat builds in the blade, fasteners deflect the cut, and the tool jerks in your hand. By afternoon, what began as basic demo feels more like triage: chasing crooked cuts, filling torn-out openings, and sanding away the evidence. Bracing isn’t just a technique—skip it, and the mess compounds fast.
Shoe Bracing: The Simple Shift That Pays in Precision
The pros know the difference: steady, deliberate shoe pressure. Anchor the saw’s shoe flat against the surface every time, and you gain control back from the tool—managing vibration, steering the blade, keeping the line from drifting with every kick or snag. It transforms cuts from jagged prodding to smooth, predictable progress—even when fasteners try to jerk you off course.
Take a simple experiment: ten quick cuts through framing old pine, some with the shoe braced, some floating. Where you hold steady, deviation hugs the line—barely 2mm of drift, even if you clip a hidden brad. Float the shoe on that same series and it’s a completely different story: wander, splinters, and up to 6mm swing per cut. That difference might sound small, but multiply it over a hundred feet of framing, and your finish work adds up fast—painfully so when sanding arm fatigue kicks in.
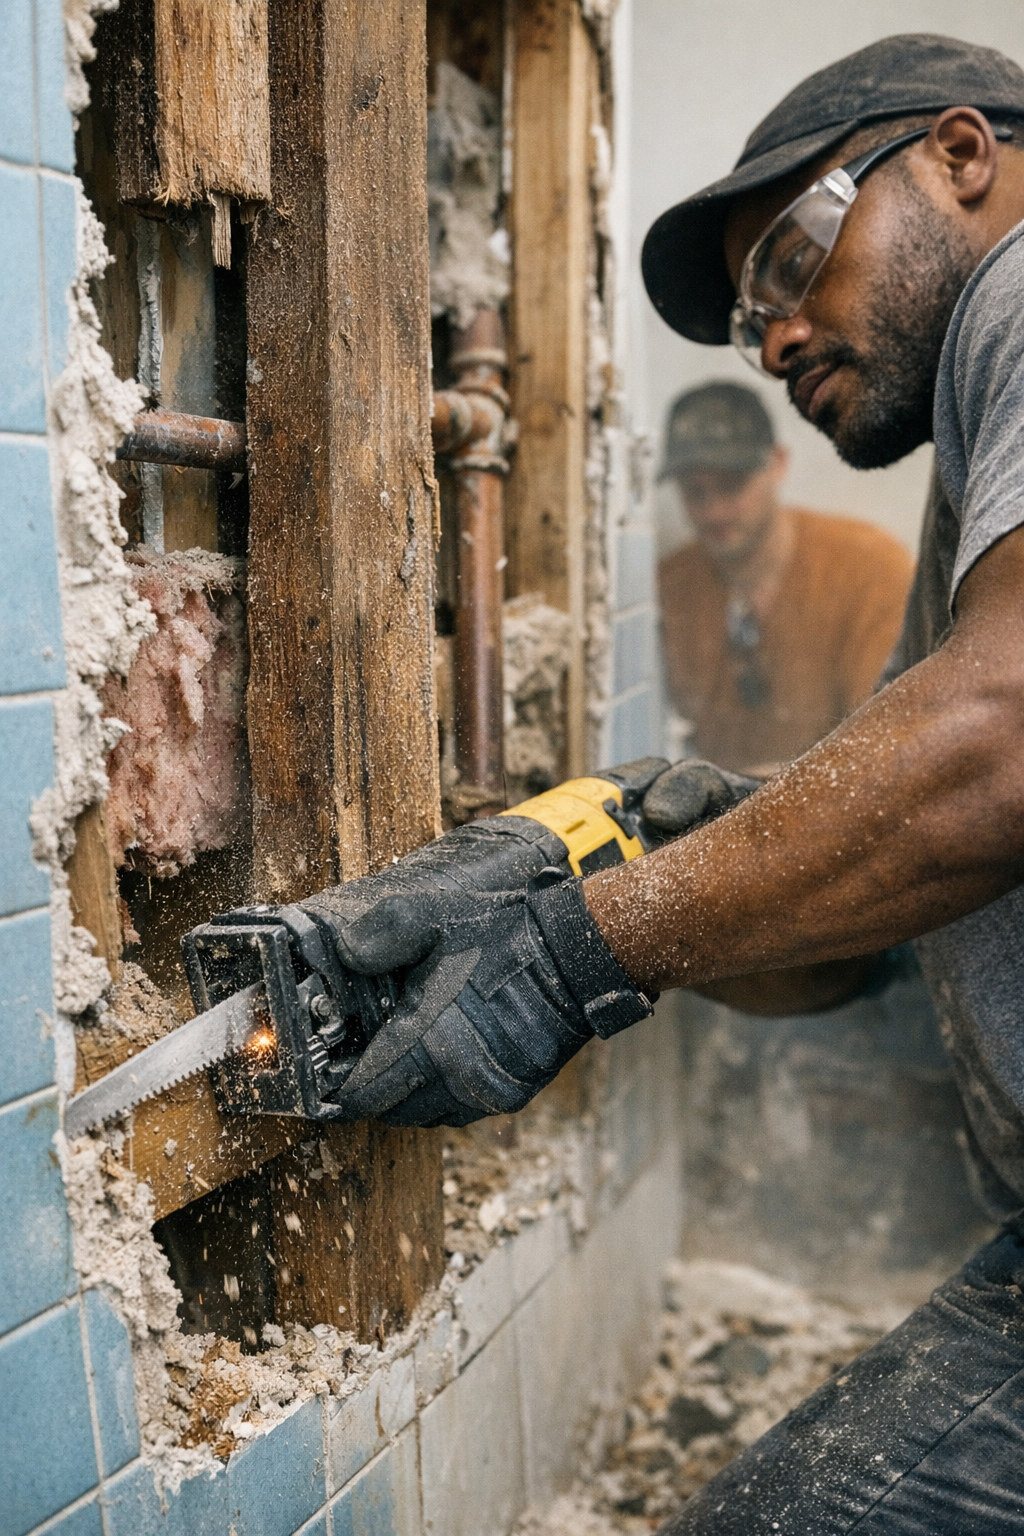
Scenario Check: Cutting in Tight Spaces Behind Tile
Bathroom renovations bring the worst: cramped angles, hardback tile, and rusted lath nails that defy clean cutting. Here, even one dropped bracing hand on the final inch means the blade veers, chipping more backing than you planned. Apply focused shoe pressure with the other hand close for balance, and you’ll feel the tool settle and the cut smoothing out. That discipline—feeling the shoe, not just the vibration—saves full sheets of tileboard and keeps you off the phone for another last-minute materials run.
Blade Choice: Where Speed Can Ruin the Finish
No trick of technique rescues a bad blade—what you load matters. Low TPI blades are made for fast, aggressive demolition in soft woods, but every jump in speed risks more harsh chatter, chipped edges, and flex when you meet hidden nails. For finishes that’ll actually disappear behind paint or tile, higher TPI steel is the unsung hero: a little slower, but the result is fewer ragged ends and less of those “whoops” edge moments that nobody enjoys patching. Use the rough stuff for raw framing, save the finer teeth for visible lines—your putty knife and sanding block will thank you.
Spotting Cut Drift Before It Becomes a Disaster
The signs show up fast: sudden blade chatter, dust collecting thick on the good side of the line, or those early inches where the blade starts pulling away before you even reach the far stud. Any of these should trigger an immediate pause—a habit check to reset your shoe, realign, and change grip before you commit to a full cut you’ll regret.
Reset, Every Time: The Five-Second Demolition Habit
Taking five deliberate seconds before each cut—flattening the shoe, bracing your stance, breathing—pays in ways you’ll notice later, especially under tough work conditions. Whether you’re overhead, cutting at odd angles in tight soffits, or pushing through repeated stud walls, that constant reset fights off slip-ups. The result? Less rework, fewer patch jobs, and less wear on both you and your tools.
Winning the Cleanup Game: How Bracing Shifts the Whole Day
Tool control is more than just a good habit—it’s the hidden secret to finishing jobs with clean edges and less dust. Braced shoe pressure means fewer seams to fill, less material chewed up, and a noticeable drop in that end-of-day fatigue that sets in after too many fix-its. Stay disciplined with every cut, and the reward is real: straighter lines, shorter cleanup, smoother finishes, and more time to move on, instead of circling back for another round with the sandpaper.