
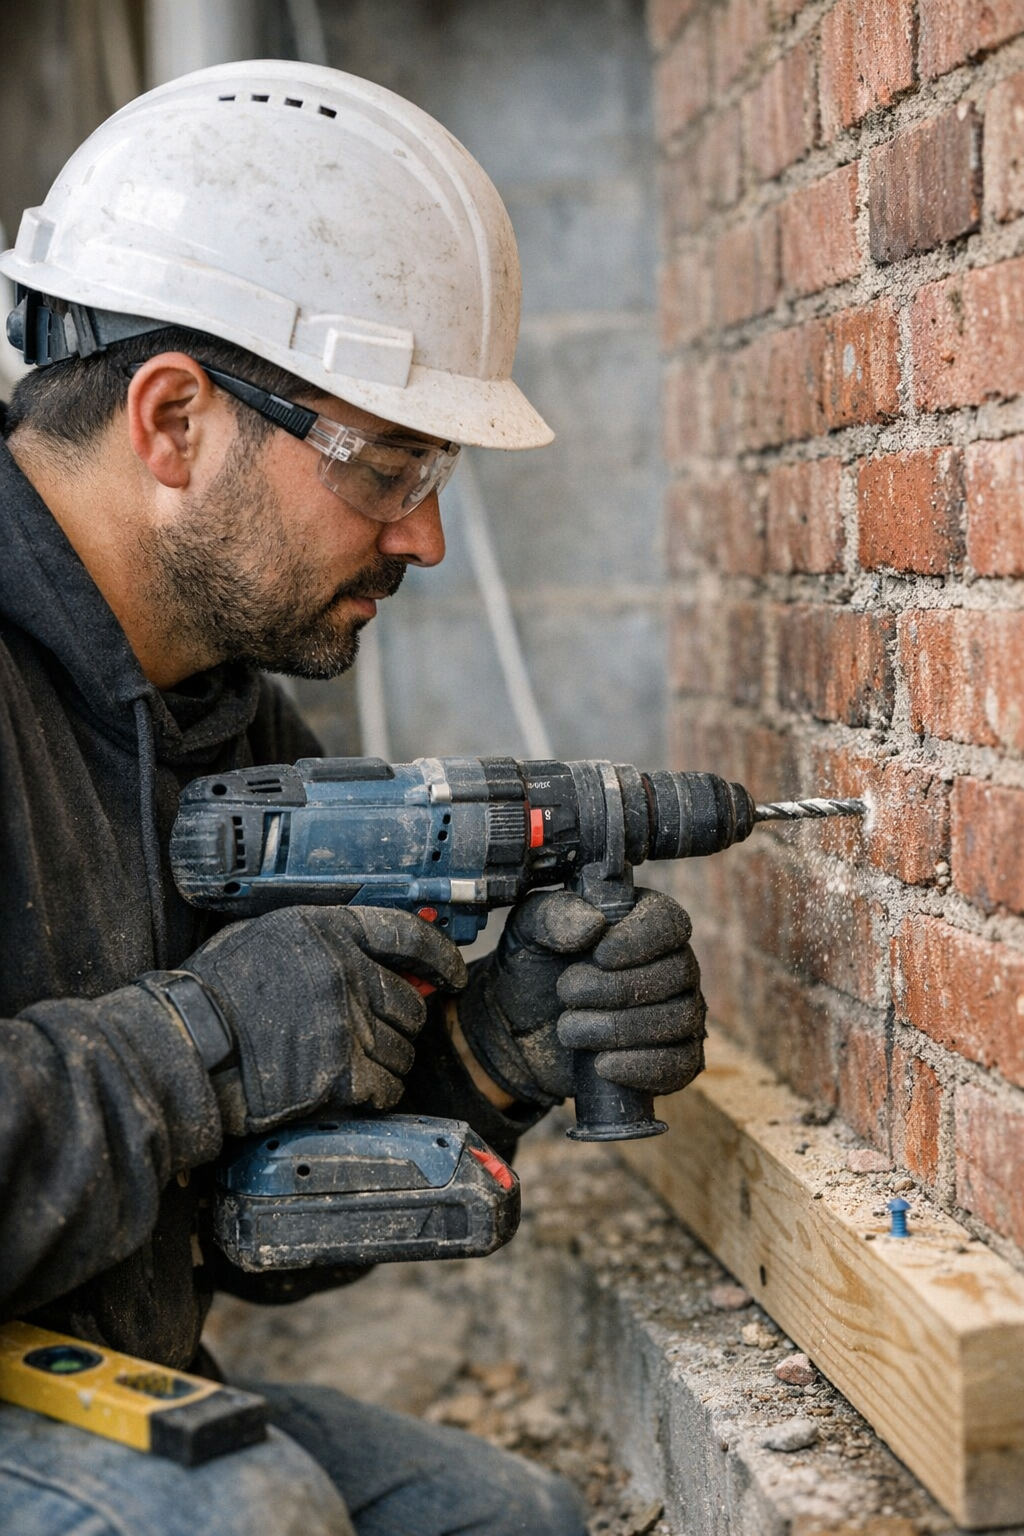
The first time hammer mode rattles your wrist, you learn fast how badly drill settings matter. It hits in small moments: frigid fingers clamped to cold steel, collar filling with red brick dust, the bit refusing to bite as the wall thuds back against your effort. This isn’t just about power or specs. It’s about the daily tug—how grip, machine, and material all fight you or fall in line, depending on that tiny switch.
The Real Distinction: Why ‘Drill Mode’ vs ‘Hammer Mode’ Gets Messy
On paper, it’s clean: drill mode for wood, metal, and soft materials; hammer mode for masonry and concrete. But real projects don’t follow rules. The choked air of a renovation, rough-cut lumber stacked on stone, patches where old mortar meets new block—these are the places settings blur. You only notice the difference once your bit goes from a clean, steady spin to bucking in your hand, or an anchor hole mushrooms wider and looser than you wanted.
I’ve watched drywallers blaze through “just another wall” only to hit cement board and shatter its edge, undoing half an hour of careful work. Or worse, someone treats plaster like plywood, and ends up patching ragged craters. Your drill talks to you through vibration and resistance—if you’re not listening, the mistake is instant, but the fix drags on.
On the Job: When a Missed Mode Turns Simple Into Ugly
Real slips happen in the rush. I once bored a series of holes through 2x4s, forgetting hammer mode was still engaged from the last bit of foundation work. The vibration numbed my hand, splinters exploded from the exit, and the holes were chewed rather than drilled—nothing you’d show on a finished job. A quick switch back to drill mode and suddenly the bit sliced clean, shavings curling out, the tool steady and responsive, the kind of cut that lines up for a perfect fasten.
When you’re toggling between wood plates stacked over brick, or saddling metal studs to block walls, the rhythm demands you pause, check your mode, then check again. The trade isn’t just in speed—it’s in walking less distance for patch and repair after, protecting your bits from dulling and your own arms from hours of extra tool fight.
The Pitfalls That Slow You Down and Ruin Work
Forgetting to Switch: It Always Costs
Blown-out holes, spent anchors, or the sudden crunch of wood fiber cracking—that’s what comes from moving too fast, skipping the mode flip. I’ve seen it on every job: skilled hands drilling smooth through pine, then stalling when the bit bites block, pouring sweat and battery life into nothing. The real fix is never rushing the switch—even if it means losing a few seconds per transition.
Ignoring the Tool’s Warnings
Hammer mode’s jackhammer rhythm isn’t subtle: it chatters, it jumps, and if you keep pushing into the wrong medium, you’ll feel resistance spike. Drill mode, forced through stone, just smokes the bit and saps the battery. Most “mystery damage” is just a warning ignored—a pilot hole that turns loose, a wood panel that suddenly splits because you were grinding when you meant to slice.
Better Results: Adjusting for What’s in Front of You
These days, I check clutch settings with intent: between 8-12 keeps wood fibers from burning out or tearing; crank up to max for stone, letting the hammer take over, always starting with a sharp 6mm masonry bit and easing in. But real control isn’t in the settings—it’s in that split-second recognition of how the drill “talks.” If the tone shifts, or the resistance spikes, I don’t force it—I stop, back out, and switch modes. Even something as small as bracing squarely and slowing the speed can mean a hole that fits tight and straight instead of ragged and oversized.
All the product brochures in the world can’t show you that half-beat of feedback, the hum that turns to a staccato smack, the perfect moment to pause and adapt. But those choices mean bits last longer, wrists ache less, batteries hang on for two dozen more holes, and the patchwork at cleanup time all but disappears.
Everyone Makes Tool Mistakes—Here’s What You Learn
No one gets it right every time. There’s always that moment: you withdraw a bit to see chipped teeth, or the anchor spins dry in the wall, or a bracket sags because one hole was overdrilled and now the fastener won’t bite. Whether you’re replacing an outlet or hanging barn doors, those “should have switched first” moments become the stories you share—and the reason you double-check settings next time. The cost is always the same: time lost, tools dulled, work that needs redoing.
Quick, Grounded Tips to Avoid Costly Misses
- Only switch modes with the drill at a dead stop. Pause after each hole, back the bit out to clear dust, and prevent selector damage or jams.
- Trust the feedback, not the label. The drill’s sound, resistance, and vibration tell you more than any icon under your thumb. Adapt and switch the moment material feels “off.”
- Make surface changes your pause point. When moving from stud to concrete, wood to tile, or even a denser knot in lumber, take the three seconds. It saves a lot more than bits and batteries.
Final Take: Good Outcomes Aren’t an Accident
Choosing between drill and hammer mode isn’t just a feature, it’s a habit—one that saves time, money, and frustration. The best results don’t come just from tools or settings, but from noticing the moment your drill speaks up. The wall tells you what it needs, every time you touch trigger to surface. Get it right, and the job moves cleaner, with less fatigue and a finish you won’t have to hide. Get it wrong, and you’ll feel it—twice, when it’s time to fix the damage.