
Understanding Metal Burn Marks and Their Causes
If you’ve ever used an angle grinder to shape or smooth steel and noticed rainbow smudges or discoloration appearing on the surface, you’re not alone. Burn marks on metal are not only a visual annoyance but can indicate damage to the metal itself, affecting both appearance and structural integrity. These marks often show up as blue, gold, or brown hues where localized overheating has occurred due to excessive friction and heat buildup.
The root cause is quite straightforward: grinding generates heat, and when that heat surpasses the steel’s tolerance, it creates discoloration—often referred to as burn marks. In worse cases, the metal’s temper can be damaged, making the piece weaker or more brittle.
Why Grind Disc Choice Matters More Than You Might Think
Most discussions about avoiding burn marks focus on operator technique—speed, pressure, and movement. While these are critical factors, the choice of grinding disc is just as important and often underestimated. Selecting the right disc can make the difference between a clean finish and a piece that requires hours of rework or even replacement.
Grinding discs come in different materials, thicknesses, and grit sizes, each suited for specific tasks. Using the wrong disc—such as a thick, rigid grinding wheel with a coarse abrasive for a finishing pass—can trap heat and leave burn marks more readily, especially on thin sheets or delicate welds.
Hard vs. Softer Discs
Harder grinding discs, typically alumina-based, are aggressive and remove material quickly, but they tend to dig in and build heat rapidly. Softer, resin-bonded discs or ceramic-based discs are designed to break down gradually, exposing fresh abrasive particles and maintaining cooler operation. This slow breakdown reduces the force needed to remove material and helps avoid overheating.
Thickness and Airflow
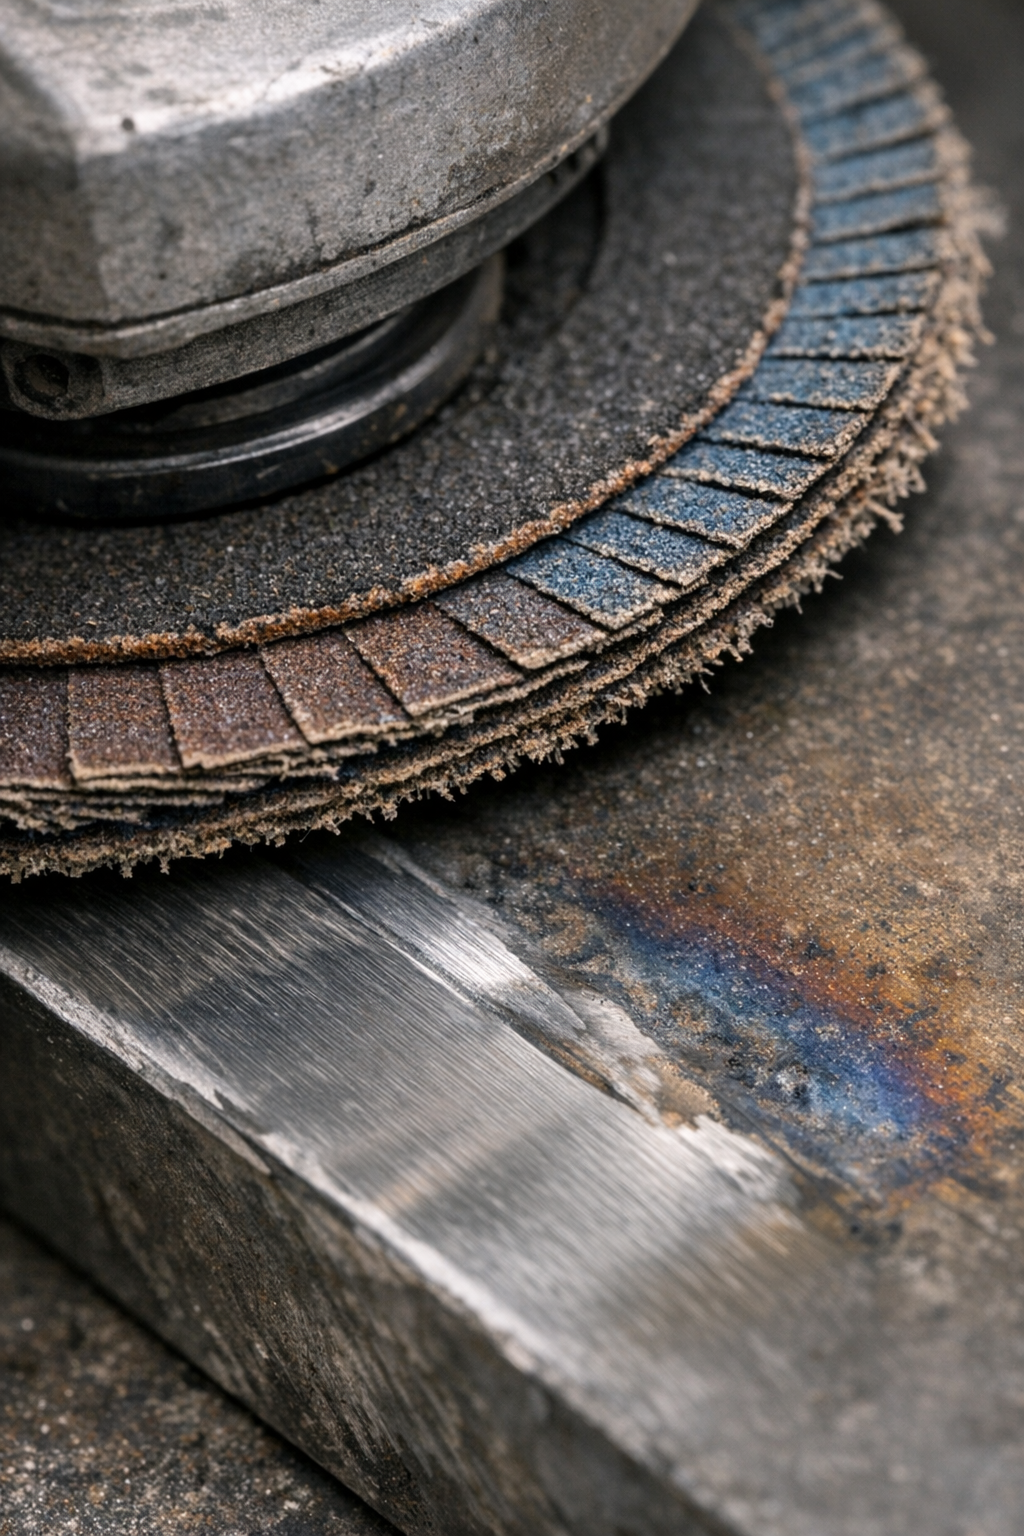
Thick grinding discs (over 6mm) can trap and focus heat in a small contact patch, increasing the likelihood of burn marks. Flap discs, with their overlapping abrasive petals, allow more airflow and dissipate heat more efficiently, making them especially well-suited for finish work on steel surfaces.
The Role of Grit Size in Preventing Burn Marks
Grit size directly affects how much friction and heat are generated during grinding. Coarser grits (lower numbers, e.g., 36–40) remove material quickly but produce more heat, making them better suited for initial stock removal. Finer grits (higher numbers, e.g., 80–120) generate less friction and produce a smoother finish, reducing heat buildup during the final shaping or blending steps.
Many tradespeople make the mistake of sticking with a single coarse disc for the entire job, which often results in visible thermal discoloration. Transitioning to a finer grit flap disc for finishing dramatically reduces that risk and improves the surface texture noticeably.
Practical Tips for Avoiding Burn Marks When Grinding
1. Use the Right Sequence of Discs
Start with a coarse grit (36–40) for heavy material removal, then switch to a medium grit (60–80) for shaping, and finish with a fine grit (80–120) flap disc. This progression helps remove material efficiently without overheating the metal.
2. Keep the Grinder Moving and Apply Light Pressure
Avoid dwelling too long on one spot. Instead, move the grinder in smooth, even strokes. Let the tool’s weight do the work rather than forcing it. Applying excessive pressure or grinding at a slow speed with a hard disc is a sure way to generate heat rapidly.
3. Choose Thin, Flexible Flap Discs for Finishing
Thin flap discs (around 1.0–2.5mm thick) dissipate heat better and reduce the chance of burn marks, especially when finishing welds or delicate parts. Their flexibility also allows better control and a smoother surface result.
Refreshing Your Approach: The Subtle Adjustment That Makes a Big Difference
One subtle but highly effective adjustment is to consciously pause and check your work in increments—about every 10 to 15 seconds when working on thin material. Take a moment to let the metal cool if it feels hot to the touch before continuing. This slight change adds time but prevents heat buildup that can cause burns. It’s a gentle reminder to work smarter, not harder.
This practice encourages patience and awareness, helping you catch potential issues early on instead of fixing damaged work later. Over time, it becomes second nature and noticeably improves your finish quality.
Real World Experience: Lessons Learned From the Workshop
Midway through a fabrication project involving a visible bracket, I noticed that my usual grinding disc left faint blue and gold arcs on the surface after each pass. Frustrated by the discoloration, I switched to an 80 grit flap disc and significantly reduced the pressure I applied. The results were immediate: the metal retained a natural steel color without burn marks, and the finish felt smoother. Subsequent paint application adhered better, and rework was minimal.
This experience reinforced the importance of disc selection and technique over brute force. By matching the disc to the task and respecting the metal’s heat tolerance, better outcomes are achievable without investing in specialized tools.
Summary: Key Takeaways for Preventing Metal Burn Marks
- Choose softer, resin-bonded or ceramic-based discs for finishing stages to reduce heat buildup.
- Use a progressive grit sequence from coarse to fine to minimize thermal damage.
- Opt for thin, flexible flap discs in finishing passes to improve airflow and heat dissipation.
- Keep the grinder moving using light, even pressure and allow metal to cool periodically.
- Remember that patience and disc changes are small investments with big payoffs in finish quality.
Paying close attention to these factors will help you prevent burn marks, improve surface finishes, and save time on rework—ultimately raising the quality of your metalwork projects.