
Understanding the Challenge of Edge Splintering
Anyone who has worked with a jigsaw on plywood or veneered boards knows the frustration of seeing splintered edges after a cut. Edge splintering, also known as tear-out, occurs when the saw teeth pull wood fibers upward instead of cleanly slicing through them. This is especially problematic on plywood, laminate furniture panels, or any woodwork where clean, sharp edges are essential.
While factors like cutting technique and tool quality influence the outcome, the choice of blade plays the most critical role in minimizing tear-out. Not all jigsaw blades are created equal, and understanding their design can help you achieve professional, splinter-free finishes.
How Tooth Design Affects Splintering
Standard jigsaw blades feature upward-pointing teeth meant to cut on the upstroke. This upward motion naturally lifts wood fibers on the top surface, often causing splintering on the visible side of a board. The problem worsens with plywood and veneered materials because the thin top layer easily tears as the blade exits.
Using a blade with the wrong tooth-per-inch (TPI) count can make things worse. For delicate surfaces, blades with 10 to 20 TPI offer a good balance—fewer teeth tend to rip fibers, while too many can generate heat and burn the wood.
Implementing a thin-kerf blade (around 1 mm) reduces the volume of material removed per cut. This subtle difference means less resistance and a smoother finish, further decreasing splinter risks.
Reverse-Tooth Blades: The Key to Clean Cuts
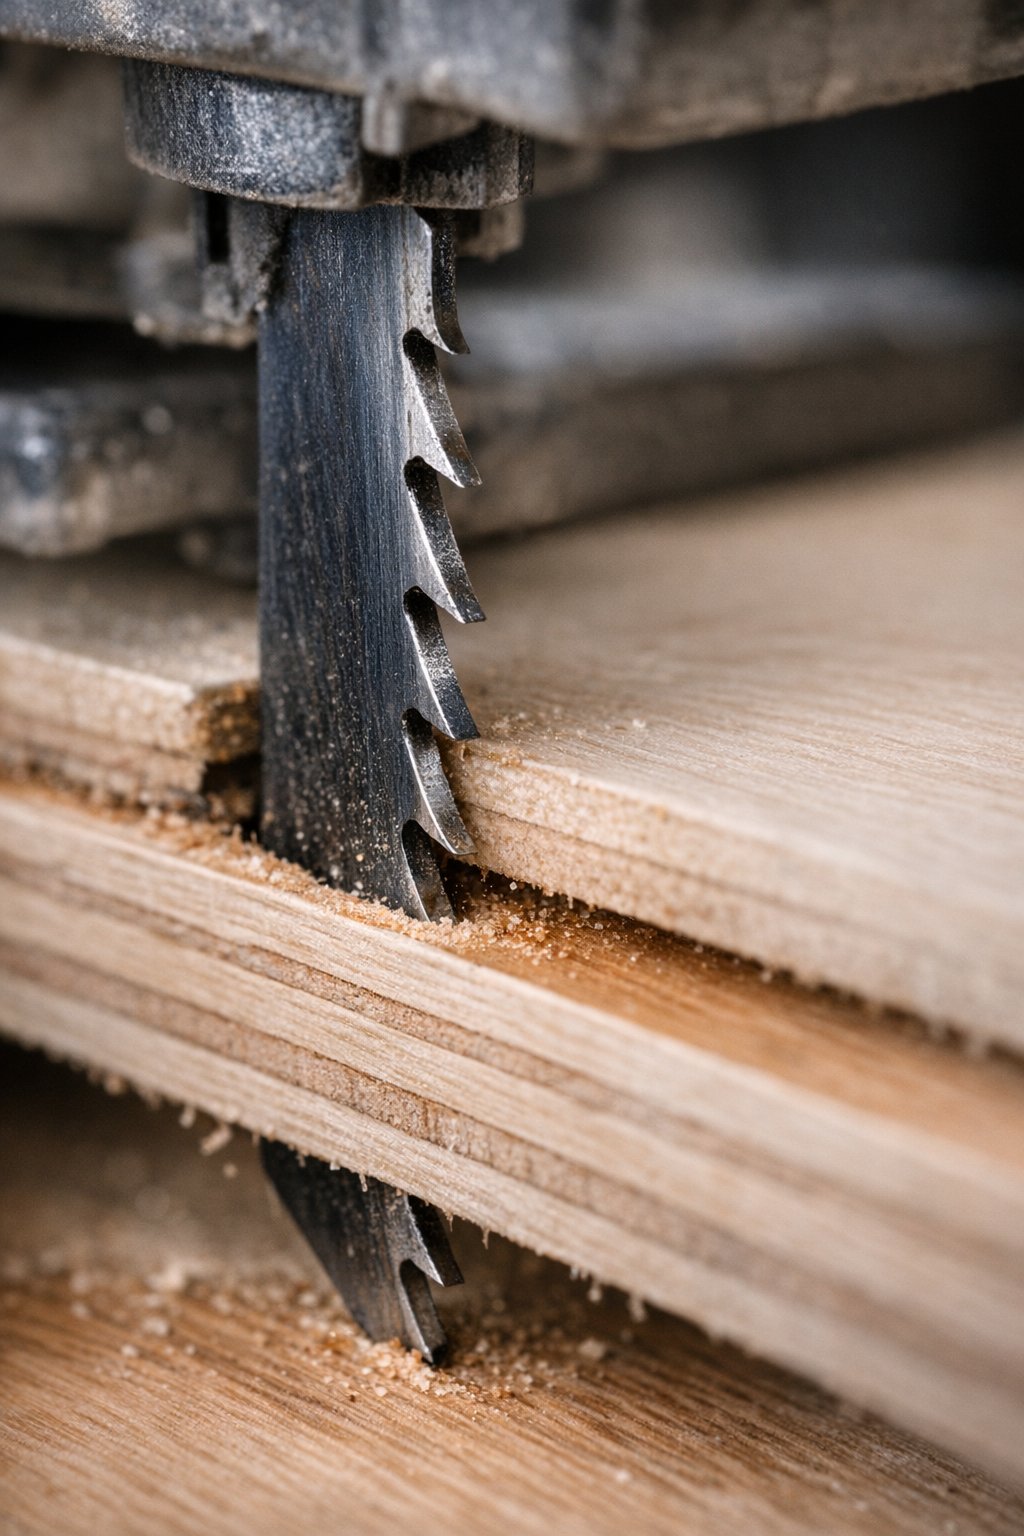
One of the most effective ways to prevent splintering is to use reverse-tooth (or down-cut) blades. These blades have teeth pointing downward, which means the cutting action maintains pressure on the wood fibers at the top surface, preventing them from lifting and tearing.
When the blade travels upward through the board, the downward-pointing teeth slice the surface fibers cleanly. This produces glassy smooth edges on the top—the “show” side—without splintering or chipping.
From personal experience and many woodworking projects, swapping to a reverse-tooth blade made a dramatic difference on visible shelf panels and decorative plywood. It removes the need for excessive sanding or post-cut edge repairs, saving substantial time and effort.
Optimizing Your Cutting Setup
To get the best results with reverse-tooth blades, match your jigsaw’s speed and feed rate accordingly. A cutting speed between 1000 and 1800 strokes per minute (SPM) usually provides a solid balance. Too fast, and the blade heats up and dulls prematurely; too slow, and you risk melting or rough cuts.
Feed pressure also matters. Apply moderate, steady force allowing the blade to do the work rather than pushing it aggressively. Attempting to force a cut through dense plywood or melamine can cause the blade to wander or burn the surface.
Practical Tip: Use a Sacrificial Scrap Board
Clamping a thin scrap board directly on top of your workpiece is a simple but highly effective trick to reduce edge splintering. This sacrificial layer provides several benefits:
- Holds surface fibers in place to prevent them lifting
- Absorbs exit pressure as the blade leaves the material
- Dampens vibration, stabilizing the cut line
When you remove the scrap board after cutting, you’re left with a flawless top surface. For best effect, match the sacrificial board’s thickness and density to your workpiece (around 6–10 mm plywood works well). Too thin and it won’t protect enough; too thick and it may interfere with cutting depth or blade control.
Blade Quality and Maintenance Matter
Not every reverse-tooth blade is reliable. Cheaper blades may overheat, leave burn marks, or dull quickly, especially on tougher materials. Investing in well-made blades with fine, precise tooth sets designed for veneers, laminates, or plywood will ensure cleaner cuts and longer service life.
Look for blades made from high-carbon steel (HCS) or bi-metal constructions. Bi-metal blades are tougher and resist dulling, holding their edge 2 to 3 times longer than basic carbon steel alternatives in medium-density fiberboard.
Keeping your blades clean is vital. Resin and dust build-up increase friction and heat, accelerating wear. After cutting, brush off debris or blow it out with compressed air to keep the blade running cool and sharp.
Cutting Technique and Blade Orientation
Most woodworkers cut with the visible side facing upward. This is perfect when using reverse-tooth blades, which protect the top surface. However, with standard up-cut blades, the best approach is to put the show face down, as the splintering tends to occur where the blade exits.
By matching blade orientation and tooth direction, you can ensure the cleanest possible finish on the side that matters most. This is especially critical when working with high-value plywood or premium veneers where edges must be paint-ready or glued seamlessly.
Refresh Tip: Manage Your Cutting Rhythm
Long continuous cuts, especially through dense melamine or hardwood plywood, can cause blades to heat and warp, leading to scorched edges or uneven cuts. To prevent this, let your blade rest for a few seconds after every 40–50 cm of cutting. This brief pause cools both the blade and motor, extending blade life and preserving edge quality.
Common Pitfalls and How to Avoid Them
- Too Fast Cutting Speed: Rushing fades edges and burns the wood. Maintain moderate speed for clean results.
- Incorrect TPI Selection: Using blades with too few TPI on veneers leads to tear-out; too many can overheat quickly.
- Ignoring Blade Maintenance: Dirty blades degrade performance – keep them clean and sharp.
- Not Using a Sacrificial Board: Overlooking this simple measure can mean extra sanding or damaged edges.
Conclusion
Edge splintering can derail even the most carefully planned project if not addressed properly. By focusing on the right blade type—primarily reverse-tooth blades—paired with appropriate cutting speed, feed pressure, and sacrificial clamping boards, woodworkers can consistently achieve clean, professional cuts.
This combination reduces tedious sanding, preserves valuable materials, and elevates the quality of final work. Whether you’re a hobbyist or a professional, these techniques will enhance your jigsaw cutting results on plywood, laminates, and veneered panels.