
Understanding Why Drill Bits Wander Off Center
Ever had a drill bit that refuses to start where you mark it? You position the bit carefully, press the trigger, and then it suddenly slides sideways—just a few millimeters off your mark. While that might seem minor, this movement, known as “walking” or “skating,” can ruin accuracy and cause misaligned or oversized holes. It’s frustrating whether you’re a novice or a craftsman with years on the clock.
At the root of this problem are a few common causes:
- The drill bit’s tip glides across the surface before biting.
- The surface is too smooth, hard, or slick for the bit to grip initially.
- The drill isn’t perpendicular, or it starts at too high a speed.
- The bit is dull, worn, or unsuitable for the material.
Walking is especially common on hard woods, laminated plywood, metals, and other smooth surfaces where the bit finds no “purchase” to start drilling promptly.
Choosing the Right Bit to Minimize Walking
One of the best defenses against bit walking is selecting the proper drill bit tip design for your material. Not all bits should be treated equally or used interchangeably.
Brad Point Bits are an excellent choice for woodworking projects. They have a sharp central spike that helps the bit stay centered by physically anchoring it before the cutting edges start their work. This design dramatically reduces skidding on flat wood surfaces, plywood, or laminates. For hardwoods, seek brad point bits with 8–10 teeth per inch for a clean and steady cut.
Twist Bits are versatile and common but can be prone to wandering because of their blunt tip geometry. They’re best reserved for softer materials or when precision isn’t the ultimate priority.
Metal Drilling Bits need to be sharper and usually come with a split-point tip angled at 135°, which helps the bit self-center when starting in steel or aluminum. Using a 118° bit on metal often leads to more walking because the tip geometry isn’t optimized for the harder surface.
Masonry Bits feature a tungsten carbide tip designed for brick, concrete, and stone. They’re highly durable but ineffective for steel or wood, where their geometry prevents proper biting.
A big mistake is using a “one-bit-for-all” approach. General-purpose bits often fall short on wood hardness or paint finishes and wander more easily.
Practical Techniques to Stop a Bit From Walking
Create a Starter Dimple
One of the simplest and most effective ways to prevent bit walking is to create a small pilot indentation where you want the hole.
This dimple gives the bit a physical seat to sit in before drilling starts, dramatically improving accuracy.
How to make a starter pit:
- Mark your drilling spot clearly with a pencil or scribe.
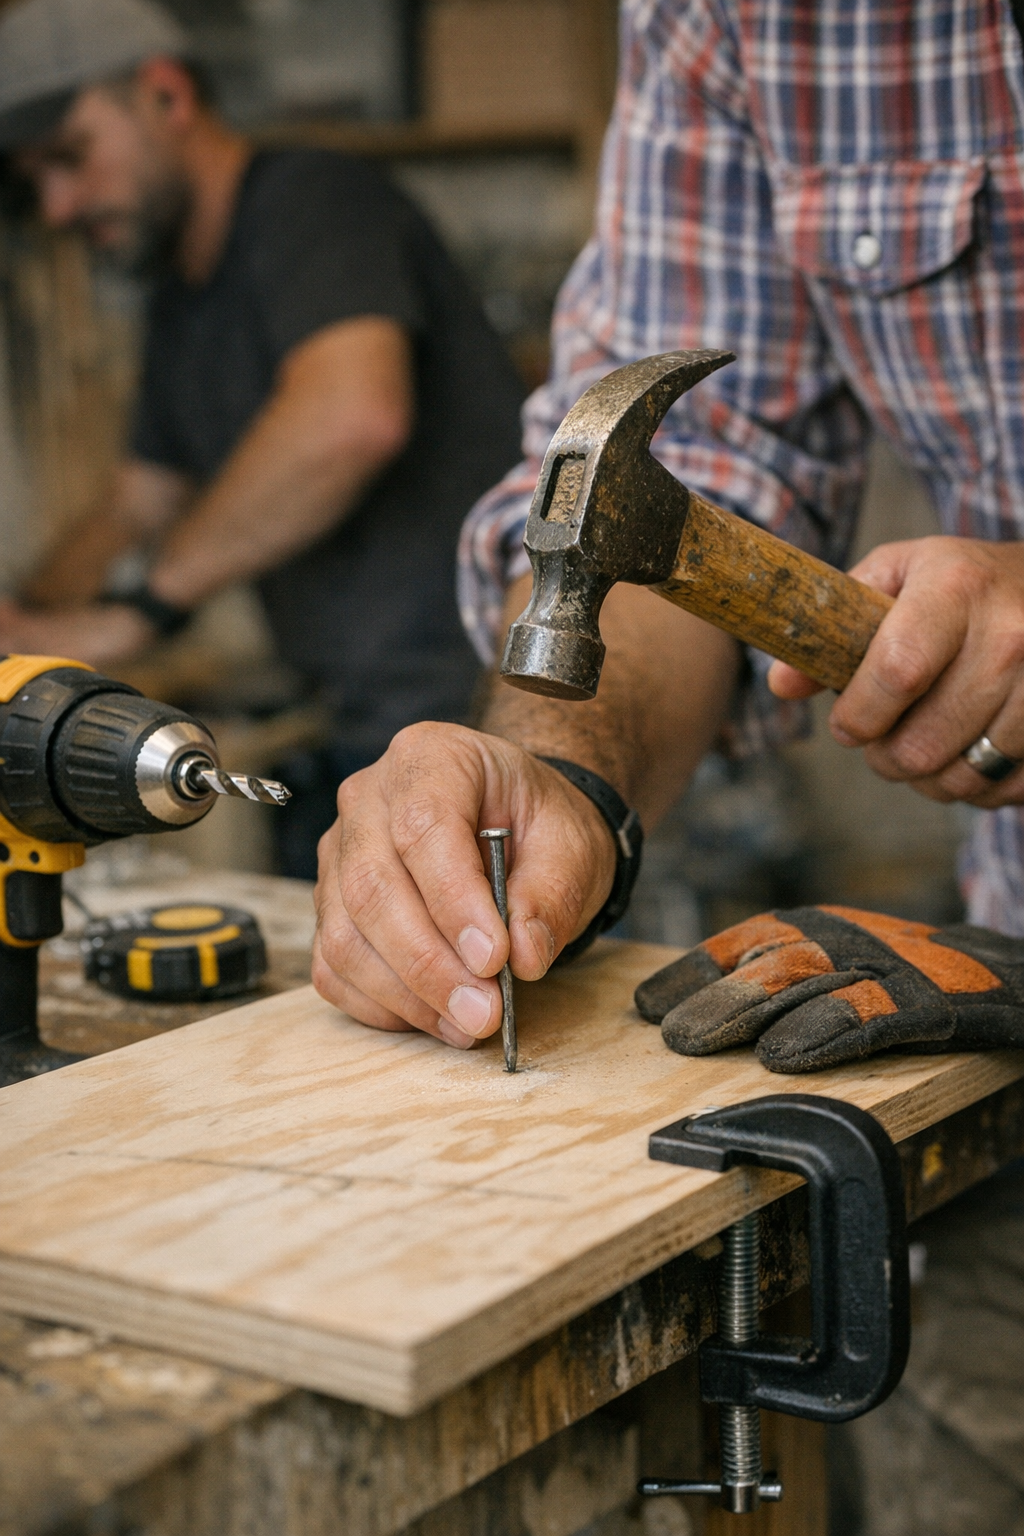
- Use a center punch if you have one. Gently tap it with a hammer to create a shallow dimple.
- If you don’t have a center punch, a sturdy nail, scratch awl, or even the corner of another drill bit can work as a substitute for wood or softer metals.
- Begin drilling with the bit seated in this dimple—start spinning slowly and carefully.
This simple physical guide often cuts walking down by 90% or more, especially on hard or smooth metals and wood finishes.
Apply Masking Tape for Extra Grip
When drilling into extremely smooth or glossy surfaces like ceramic tiles or finished plywood, applying a piece of masking tape over the drilling mark adds grip. It gives the bit a little more bite in those first rotations, preventing slippage and scratches.
This method is popular with tile installers because the tape reduces walking and cosmetic damage.
Start Slow and Straight
Resist the urge to blast your drill at high RPM from the start. Instead,:
- Keep the drill speed low when starting (around 300–500 RPM for wood, 150–250 RPM for metal).
- Apply gentle, steady pressure to allow the bit to bite steadily without forcing it.
- Ensure your drill is held perpendicular (90°) to the surface. Even a slight tilt of 10° can cause the bit to wander.
Use a small carpenter’s square or visually check the angle from different points if you’re unsure.
Maintain Sharp, Well-Matched Bits
A dull or damaged bit tip worsens walking. Even the best tip design cannot compensate for a worn edge.
Regularly inspect your bits and sharpen them when necessary using a bit sharpener or bench stone. The investment of a few minutes to sharpen your bits will save frustration and improve your hole accuracy dramatically.
Remember, a well-maintained bit engages the material immediately, cuts clean holes, and holds center without wandering.
A Refresh Tip: Slow Down and Trust the Process
It’s tempting to rush through drilling tasks, especially when projects pile up. But trips to patch holes and re-drill waste more time and materials than a deliberate, methodical approach.
When you slow down to take these few preparatory steps—proper bit, a starter dimple, correct drill angle, and sharp bit—you build precision into your work and avoid frustration.
This mindset refresh helps transform your drilling from a source of headaches into a satisfying part of the craft.
Real-World Example: Precision on the Job
Once, while installing a French cleat wall, I found that many mounting screws had badly misaligned holes. Switching to the dimple technique—simply tapping in a small pilot mark before every hole—revolutionized my installation speed and accuracy. The crooked, frustrating starts disappeared overnight.
My experience echoes the wisdom of seasoned metalworkers and woodworkers who know that a controlled start is half the job.
Summary: Stop Bit Walking with Simple Actions
- Use the right bit style and tip for your material—brad point bits for wood, split point bits for metal.
- Create a starter dimple with a center punch or improvised tool.
- Apply masking tape over smooth surfaces to add grip.
- Start drilling slowly and hold the drill perfectly perpendicular.
- Keep bits sharp and well-maintained.
- Adopt a patient, methodical approach to drilling to save time long-term.
Following these practices will improve your hole accuracy every time and transform drilling from a frustrating chore into a precise craft.