
Few frustrations compare to the sinking feeling you get after spending hours assembling a structure—whether it’s a metal frame, a custom rack, or a fence panel—only to later discover that your joints are coming loose. If you’ve ever used a rivet gun, you know the slow, creeping worry: did I pick the right rivet size? Did I overlook something?
It turns out, one of the most common but overlooked causes of weak, unstable joints is using rivets that don’t fit properly—either those that are too small or the wrong length. What seems like a minor mismatch can seriously weaken the integrity of your entire assembly.
Why Proper Rivet Size Matters More Than You Think
At first glance, rivets come in countless sizes and styles. They’re all designed to hold materials together, right? Yes, but only if the size matches the application closely. Getting precise matters.
For example, imagine using a 3.0mm diameter rivet in a 3.2mm hole. That mere 0.2mm gap means the rivet’s shaft cannot grip the hole’s edges securely when expanded. Even though the rivet’s back flares out, the reduced contact weakens the shear strength by 20–30% compared to a perfectly fitted rivet. Similarly, if the rivet is too long or too short for the material’s thickness, the end may not flare out properly, resulting in a loose, vulnerable joint that can come undone under stress.
It’s a subtle mistake, but it can have big consequences—wobbly racks, rattling signs, and panels that loosen with time. The joint may look solid initially, but the wrong rivet size sets you on a path toward failure.
The Common Challenges in Selecting Rivets
Choosing the proper rivet is rarely straightforward for several reasons. First, holes drilled into sheet metal or other materials are often slightly oversized. The drill bit may wander, or the sheet may flex during drilling—creating a gap that’s larger than the nominal hole size. This means a rivet sized to the hole may feel loose.
Second, manufacturers’ grip range specifications—the thickness of material a rivet is designed to accommodate—assume ideal conditions. Real-world factors like paint layers, rust, or dirt can increase thickness, pushing your rivet toward the upper limit of its grip or beyond. This can prevent the rivet from expanding correctly and fully securing the joint.
How to Ensure a Proper Rivet Fit Before Setting
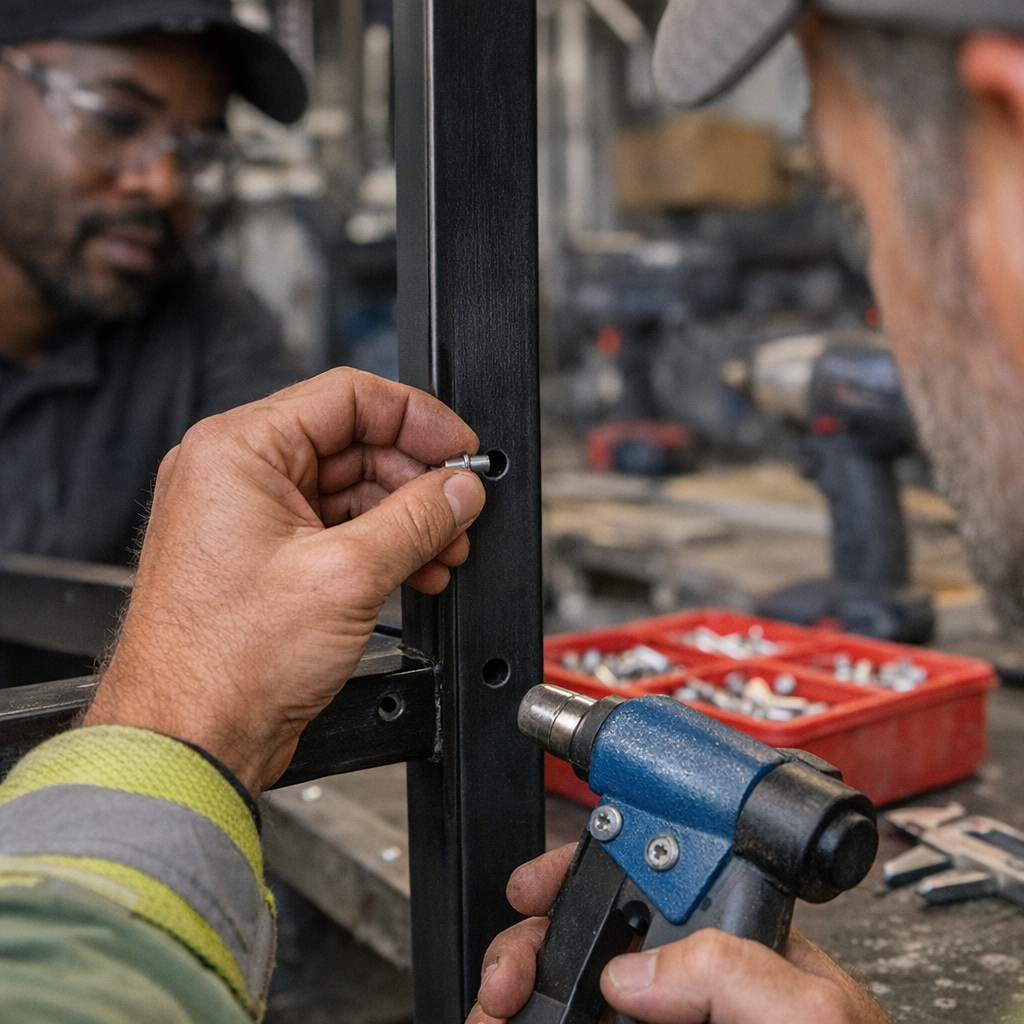
One simple but effective trick is to physically test the rivet’s fit before you pull the trigger on your rivet gun. After pre-drilling, insert the rivet and try gently wiggling it in the hole. If it rotates or moves side-to-side, that’s a red flag. A loose fit means the rivet won’t grip tightly once set, resulting in potential failure later.
If you spot looseness, you have two main options: select a rivet with a slightly larger diameter (if the hole allows), or adjust your hole by drilling a replacement location or resizing the hole to create a snug fit. Avoid forcing a larger rivet into a hole that’s too small; this risks damaging your materials or the rivet itself.
In cases where a snug rivet fit isn’t possible, consider switching to mechanical fasteners like nuts and bolts, which can accommodate a range of material thicknesses more reliably.
Practical Tip: Compare Drill Bit Size and Rivet Diameter
To minimize guesswork, examine your tools and supplies closely. For instance, a 4.0mm rivet ideally fits into a hole drilled with a 4.0–4.1mm drill bit. The hole should not exceed the rivet diameter by more than a fraction of a millimeter. If you find a hole is too large, don’t settle for the next rivet size up without confirming it fits properly.
Getting familiar with your drill bits, rivet diameters, and grip ranges—and confirming the compatibility of these elements before assembly—can save hours of frustration and rework.
Refreshing Your Approach: Don’t Rush, Inspect with Care
It’s tempting to overlook fit details when you’re under time pressure or have limited rivets on hand. But a quick moment taken before setting rivets can prevent a world of trouble later. One mindful inspection can turn a shaky structure into a sturdy, long-lasting build.
A great way to boost your confidence is to incorporate a systematic “fit check” step into your assembly process. Before squeezing the rivet gun trigger, make it standard to test the rivet’s movement in the hole. This small habit shifts your energy from reactive fixes to proactive quality control—an approach that pays off every time.
Real-World Example: When a Fence Panel Taught a Hard Lesson
Last summer, I helped a friend reattach a fence panel after it was damaged by high winds. In a rush, we used leftover rivets that were slightly undersized for the thick, painted steel posts. Though initially secure, after just three weeks many joints had loosened and rattled dangerously. We had to redo the entire work to ensure stability.
Since then, I’ve been ever diligent about testing rivet fit ahead of time. The simple habit of “wiggling” the rivet in its hole before setting has saved countless hours and eliminated the need to redo joints.
Additional Tips for Stronger Riveted Joints
- Use the correct rivet type for your materials: Aluminum rivets for aluminum sheets, steel rivets for steel—material compatibility matters for durability.
- Clean holes thoroughly: Remove rust, paint chips, and debris before assembling. Imperfections not only increase grip thickness but also interfere with rivet expansion.
- Use the recommended rivet gun pressure settings: Excessive force can deform rivets; insufficient force leads to incomplete expansion.
Conclusion
The biggest single contributor to weak riveted joints is the failure to account for proper rivet size and fit. Even a slight mismatch can reduce joint strength significantly and lead to frustrating loosening over time. The good news is this is an easily avoidable mistake.
Make it a habit to inspect and physically test rivet fit in every hole before setting. Compare hole and rivet sizes closely, don’t force mismatched parts, and be willing to adapt your approach—a quick size swap or hole adjustment will pay off with durable, reliable joints.
Small checks mean big peace of mind, saving you from expensive and time-consuming repairs down the road.