
The Hidden Risks of Over- and Under-Torquing with Impact Wrenches
We’ve all experienced it: tightening that final lug nut with an impact wrench, feeling confident, only to realize moments later that you may have either stripped the threads or left the fastener too loose. Impact wrenches are incredible tools that speed up fastening tasks dramatically, but with their strength comes a fine line between efficiency and damage.
These powerful tools can easily exceed recommended torque limits, which leads to stripped threads, snapped bolts, or under-tightened connections that loosen over time. The manufacturers provide specific torque specs for good reason, but many users rely on the tool’s sensory feedback alone—often leading to unintended damage or frustrating rework.
Why Torque Matters More Than You Might Think
Torque measures the rotational force applied to fasteners, and each bolt or nut has a recommended torque range to ensure it holds securely without damaging the threads or the surrounding material. For example, most passenger vehicle lug nuts require an 80–100 ft-lb torque. Yet impact wrenches on medium or high settings can exceed 150 ft-lbs, surpassing safe limits especially when dealing with softer materials like aluminum or zinc alloys.
When a bolt is over-tightened, you risk damaging—or stripping—the threads. On steel-to-steel fasteners, damage might not be obvious immediately, but upon disassembly, a stripped or stretched thread can turn a straightforward job into a significant challenge. On softer metals, the damage often reveals itself right away, reducing fastener integrity and safety.
Conversely, under-tightening leaves assemblies vulnerable to vibrations, which can loosen bolts over time. This is critical in applications ranging from automotive suspensions to flooring systems, where failure due to loose fasteners can cause safety hazards or accelerate wear.
Common Pitfalls: Relying on Feel and Sound Alone
One of the biggest mistakes is relying solely on the “feel” or “sound” of an impact wrench to judge if the bolt is tight enough. This method is unreliable as high-powered impacts can mask the actual resistance felt, particularly when working with varying fastener sizes or materials. A bolt can feel tight but still be far from its required torque, leading to inconsistent and potentially unsafe results.
A Simple Two-Step Process to Protect Your Bolts
After experiencing firsthand the frustration of stripped bolts and seized fasteners, I adopted a straightforward yet effective habit: I always start with the lowest torque setting on my impact wrench and finish with a manual torque wrench set precisely to the manufacturer’s specification.
Most modern impact wrenches have multiple torque settings—commonly low, medium, and high. The high setting is tempting because it’s fast and seemingly efficient, but it’s also where most damage happens. By using the low setting, I ensure that bolts are seated without excessive force applied too quickly.
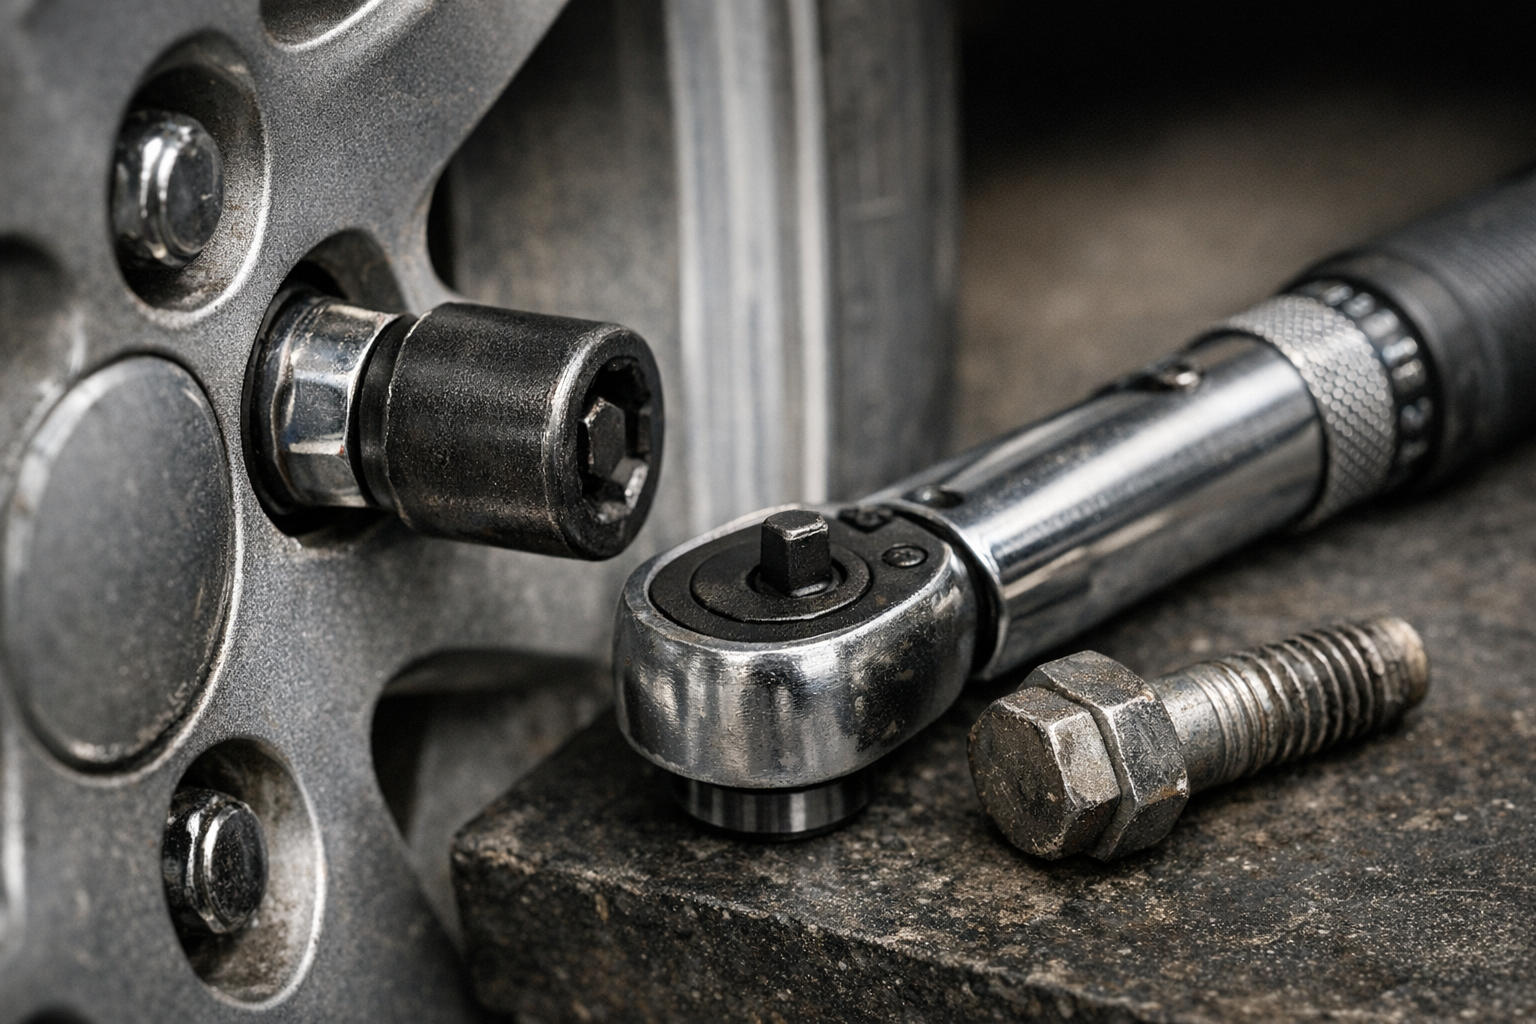
Once the fastener is firmly in place, I switch to a manual torque wrench to perform the final tightening step. This approach takes an extra 30 seconds per fastener but dramatically reduces the risk of thread damage, snapped bolts, or under-tightening.
Practical Tip: Marking Torqued Fasteners
To keep track of which bolts are tightened properly—especially in assemblies with many fasteners—I use a paint marker to add a small dot on each nut or bolt head. This visual cue helps prevent accidental skipping or double-tightening and improves workflow accuracy.
Real-World Application Examples
When working with common fasteners like M6–M12 bolts or T20–T40 Torx screws found in automotive, machinery, or even heavy furniture construction, this method has saved countless headaches. Soft metals like aluminum wheels or engine components benefit the most since they’re more prone to thread damage.
Similarly, in flooring and structural furniture assembly, where fasteners are subjected to vibration and shifting, ensuring each bolt is properly torqued prevents premature loosening and structural failures.
Refreshing Your Approach: Slow Down to Speed Up
It may seem ironic, but intentionally slowing down to double-check torque settings leads to faster, smoother projects. This subtle mindset shift—from rushing to finish to respecting the precise application of torque—builds a rhythm that improves quality and saves time in the long run. It’s not about adding steps for complexity; it’s about making each step smarter.
By embracing patience and precision, you create more durable, reliable assemblies that perform better and last longer. This refreshed perspective transforms fast and sloppy work into efficient craftsmanship.
Lessons Learned and Final Advice
From personal experience, skipping the final torque verification using a manual wrench is a costly mistake. On one project, I torqued lug nuts on my car’s wheels using the impact wrench’s highest setting. Months later, removing the wheels revealed one stuck bolt ruined by stretched and fused threads, costing an afternoon of drilling and extraction.
Since then, I strictly adhere to the two-step method: low setting on the impact wrench for fast initial engagement, followed by a carefully calibrated manual torque wrench for final tightening. This approach has eliminated stripped bolts for me and improved overall work quality.
Remember, your power tools are there to make your work easier—not a substitute for accurate technique. Next time you reach for your impact wrench, take that moment to adjust the torque setting to low and commit to the final torque check with a manual wrench. Your bolts, tools, and peace of mind will thank you.