
There’s a familiar tension that creeps in before you start removing old paint from any cherished woodwork, whether it’s a banister handed down through generations, a window frame that anchors a room, or a vintage side table with memories embedded in its grain. The fear isn’t just that paint will come off; it’s that the surface beneath—your wood, metal, or masonry—might suffer permanent harm. Scratches, gouges, burns, or warping often seem like inevitable side effects of a paint removal project, especially if you rush or wield your tools too aggressively.
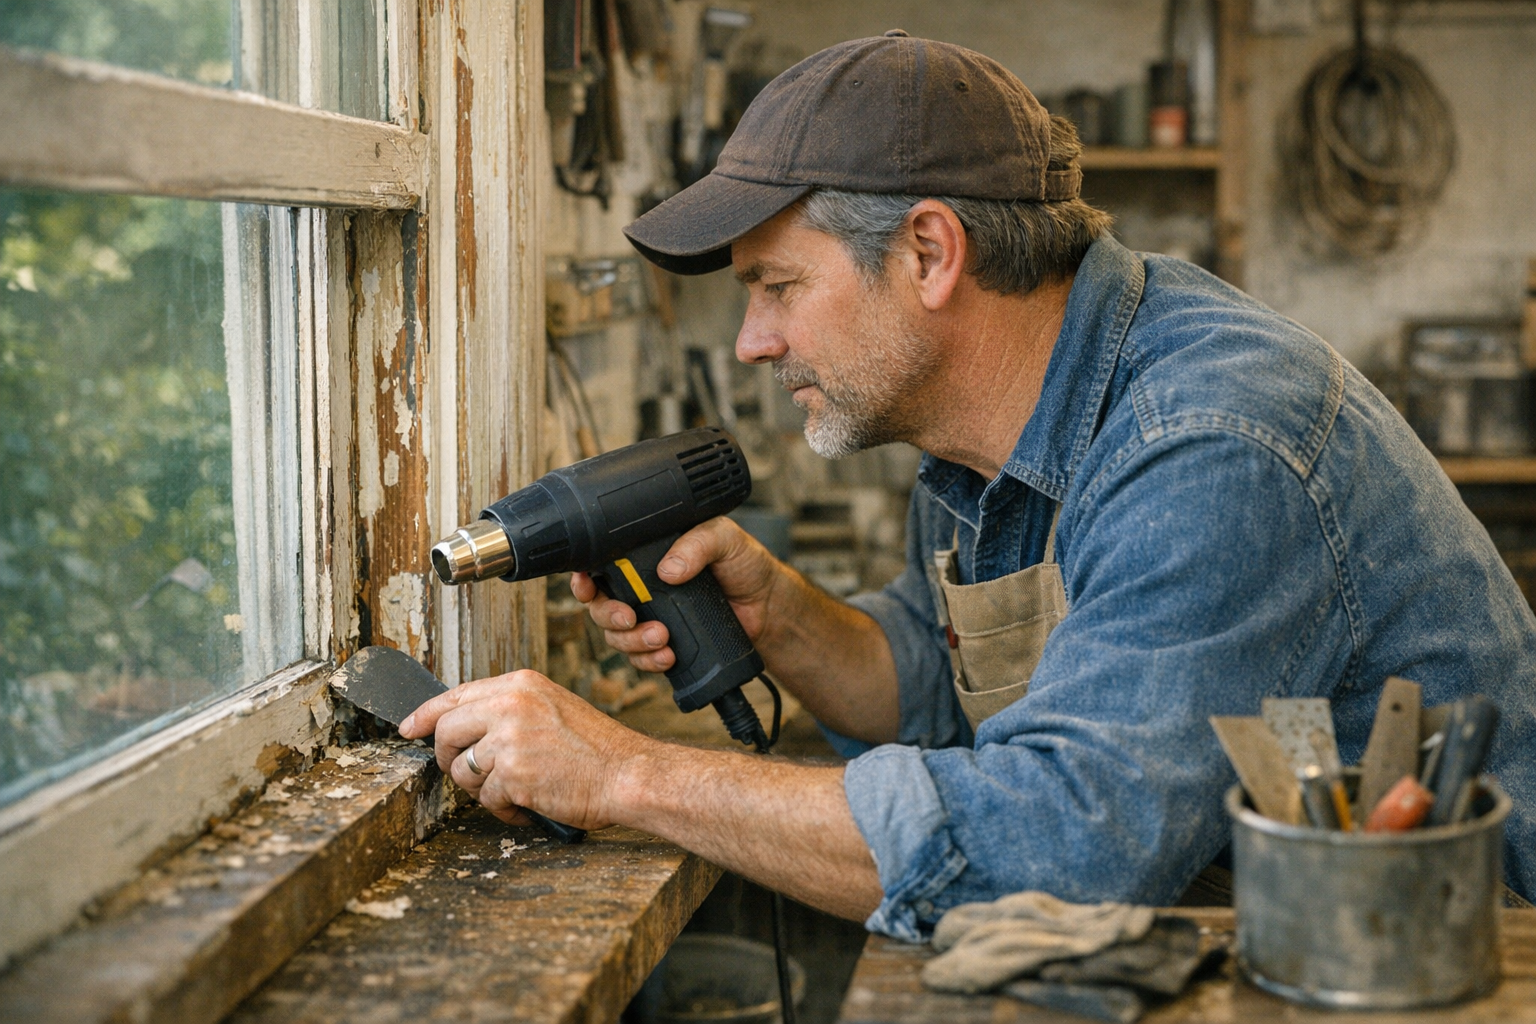
However, there’s a method that transforms this daunting chore into a manageable, even satisfying experience: using a heat gun with patience and precision. Over many projects spread across woodwork, metal trims, and even some masonry details, I’ve learned that heat guns can safely soften and release paint without striking the surface beneath. But only if you respect the tool’s power and nuances. This article distills those lessons into actionable advice, informed by real workshop moments and hard-earned insight.
Why Choose a Heat Gun for Removing Paint?
Traditional paint removal often conjures images of chemical strippers or vigorous sanding—methods that either fill your air with noxious fumes or leave clouds of dust. A heat gun offers a cleaner alternative: it gently warms paint until it softens and peels off. Unlike chemicals, it avoids harsh solvents and potential surface stains; unlike sanding, it doesn’t abrade the substrate itself.
Heat guns work effectively on diverse materials—from solid wood to metal surly enough to take heat, and even on masonry if you proceed carefully. Understanding how to control temperature and proximity is the key. Most heat guns offer temperature settings from roughly 400°C up to 600°C (750°F–1100°F maximum), but for paint removal, you rarely need to exceed 300°C–400°C (570°F–750°F). Staying below the maximum temperature preserves the surface’s integrity and keeps the paint’s behavior predictable.
Additionally, if your heat gun has variable airflow, resist the temptation to blast at full force. A softer, moderate airflow prevents softened paint from splattering or spreading messily, helping you maintain clean control.
Assess the Surface and Paint Before You Begin
Before firing up your heat gun, take a moment to identify the materials you’re working with and the type of paint involved. Wood species with thin veneers or intricate, delicate molding can distort under excessive heat if treated carelessly. Metals generally tolerate heat well, but always double-check compatibility, especially with finishes or primers that might contain sensitive components.
One critical caution concerns paint containing lead, which was common in pre-1970s homes. Overheating lead-based paint can release hazardous fumes. If you suspect lead paint, exercise extreme caution: follow safety guidelines, wear respiratory protection, and consider professional removal.
The paint’s composition affects how it reacts to heat. For example, acrylic or latex paints might melt into a sticky, stubborn residue rather than crisply lifting. In these cases, lower heat settings and slower scraping help avoid making a mess.
Real-World Experience: Learning to Work Slowly Pays Off
A personal story illustrates why rushing with a heat gun can backfire. Last fall, while repainting window frames in a chilly sunroom, I was pressed for time and anxious to finish quickly. Cranking the heat gun to its highest setting, I held it too close to the wood surface. The paint blistered and bubbled rapidly, but so did the wood beneath—small dark scorch marks appeared that no amount of sanding fully erased.
After that frustrating experience, I adjusted my approach. Instead of maximum heat, I dialed back to a medium-low setting (~350°C/660°F), keeping the gun 1.5 to 2 inches away from the surface. Instead of hurrying, I worked in gentle, overlapping movements over small sections no wider than my palm. Waiting only long enough for softening paint to react, rather than pushing longer, prevented damage and made scraping easier.
Step-by-Step Guide to Gentle Heat Gun Paint Removal
- Test a Concealed Spot First. Before tackling a prominent area, try a hidden corner. This trial helps you gauge the heat setting and the surface’s reaction without risking visible damage.
- Set Your Heat Gun to Medium-Low (300–400°C). High temperatures can cause burns and distortions. Starting lower and adjusting upward as necessary is safer.
- Keep the Heat Gun Moving. Constant motion prevents overheating any one spot. Use smooth side-to-side sweeps or small circular motions without lingering.
- Watch Closely for Paint Bubbling. Once you observe bubbles or slight peeling, stop heating and pick up your scraper.
- Scrape with Care Using the Right Blade. Use a flexible, rounded scraper blade about 1 to 2 inches wide, held at a shallow angle (10–15°). This minimizes gouging risks.
- Allow Stubborn Areas to Rest. Don’t force the scraper on resistant paint; instead, cool the area briefly and reapply gentle heat.
- Clean Residues Lightly. After scrapping, wipe down with a slightly damp cloth to remove loose paint fragments and dust.
Choosing and Using the Right Scraper Makes a Big Difference
A simple but impactful shift that transformed my approach was swapping sharp-edged scrapers for flexible blades with rounded corners. These kinds of scrapers conform gently to curves and contours, peeling paint instead of digging into the substrate. Maintaining the scraper at a flat, low angle helps slide it beneath softened paint with minimal impact.
If you ever feel the scraper snagging or sticking, resist the urge to force it. Reheat the spot and loosen the paint safely. Over time, sharpening or replacing your scraper blade keeps it effective without increasing injury risk to the surface.
After Paint Removal: Handling the Surface with Care
Once you have removed the paint, the temptation might be to sand aggressively or use harsh chemical cleaners to prep the surface. Resist. Especially with wood, over-sanding removes original character and weakens thin veneers or delicate details. Instead, choose a light buffing method using fine-grade steel wool (0000 grade) or a fine finishing pad.
For metal surfaces, a soft brass brush helps clear remaining paint bits without scratching. Maintaining the surface’s natural texture at this stage ensures better adhesion for new paint or finishes.
Refresh Tip: Slow Down to Save Future Work
When tackling paint removal, it’s tempting to hurry through and “get it over with.” But slowing your pace isn’t just about avoiding mistakes in the moment—it’s a way to safeguard your project’s longevity.
Each time you rush and damage the surface, you add more labor, cost, and frustration downstream. Conversely, patient, gentle work preserves the integrity of your materials and creates a better foundation for refinishing. Think of this as an investment: a little more time now can save hours of corrective work later.
Taking breaks to step back, reassess your heat and technique, or simply breathe can shift your mindset and reduce fatigue-driven errors. This deliberate tempo turns paint removal from a chore into a thoughtful craft.
Final Thoughts: Mastering the Art of Heat Gun Paint Removal
Removing paint without harming the underlying surface demands respect—for your tools, the material, and the process. The secret lies in balancing enough heat to soften paint against too much heat that damages. Pair that with the right scraper choice and controlled, patient motions, and you gain command over a task often dreaded.
Every project teaches you to refine your approach: the settings, the distance, the speed, and the scraping technique all blend into a rhythm tuned over time. Mistakes aren’t failures; they’re lessons that help you protect what matters.
If you’re planning future DIY refinishing or restoration projects, consider how this adaptable, low-mess approach can save your surfaces and your sanity.