Why Everyday Pet Care Routines Break Down Faster Than Expected
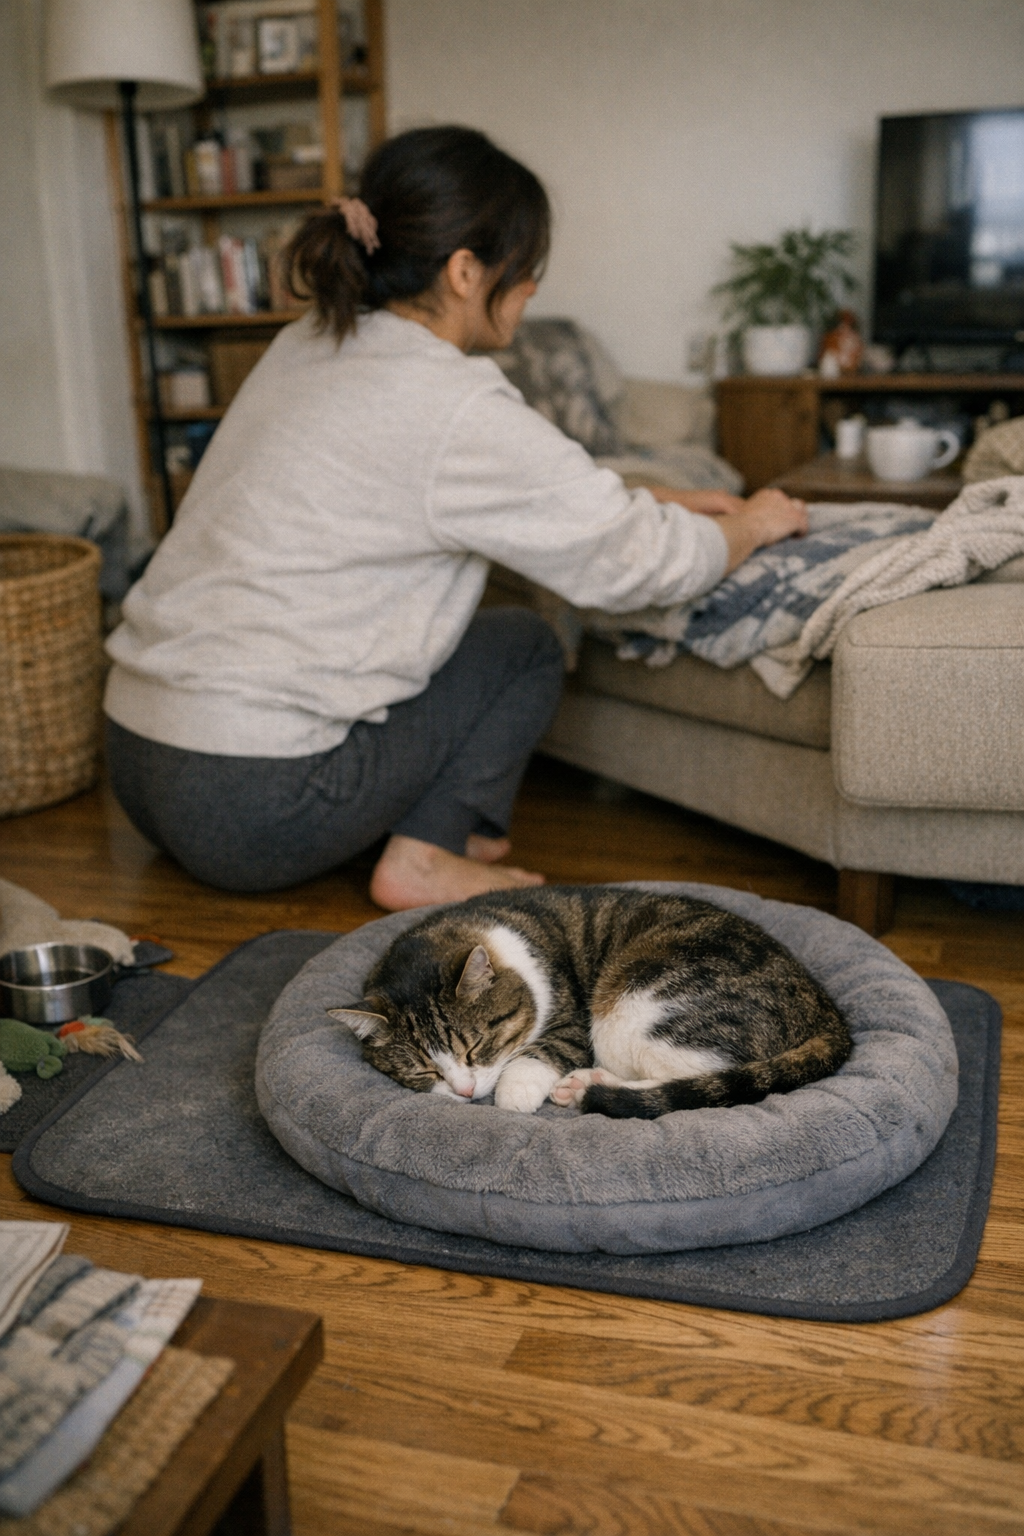
On day one, a pet feeding or cleanup zone feels under control—bowl set in place, cleaning cloth ready, water topped off, everything within arm’s reach. For a few days, the setup handles the routine. Then, silent friction creeps in: the bowl’s rim feels greasy faster than you expect, the cloth is missing just when spilled water needs to be wiped up, and that initial “system” starts to stall. The feeding area stays neat only if you track down whatever tool drifted away since yesterday. In real repeated use, “organized” isn’t enough—one delay, one missing item, or one awkward reach can turn a smooth routine into another slow, interruptive reset.
The Hidden Cost of Repeated Pet Care Tasks
Routines look stable until you run them daily. A feeding mat starts to build up stuck residue in the corners, and the water bowl earns its faint ring by midweek. Place the cleaning cloth too far from the zone, and “I’ll clean later” stacks up, leaving you with a dried mess during a rushed evening. When items migrate or slide out of reach, small chores compound into frustrating repeat work—usually surfacing right after meals or as you’re about to call it a night.
The breakdown doesn’t announce itself. Tasks split into new detours—reaching for the water jug buried behind cat toys, tugging open a drawer that never slides smoothly to retrieve a brushing tool. Instead of a swift reset, there’s repeated shuffling and clearing, all while your focus is supposed to be elsewhere.
When Routines Demand Attention Instead of Saving Time
A pet care setup only succeeds if it absorbs repetition—if it actually gets easier the more often you use it. In most homes, small points of friction only show up after a few cycles: a missing wipe, a bottle out of place, a brush buried under extras. The moment you need a fast reset, the setup drags you back to tracking down what should have been ready.
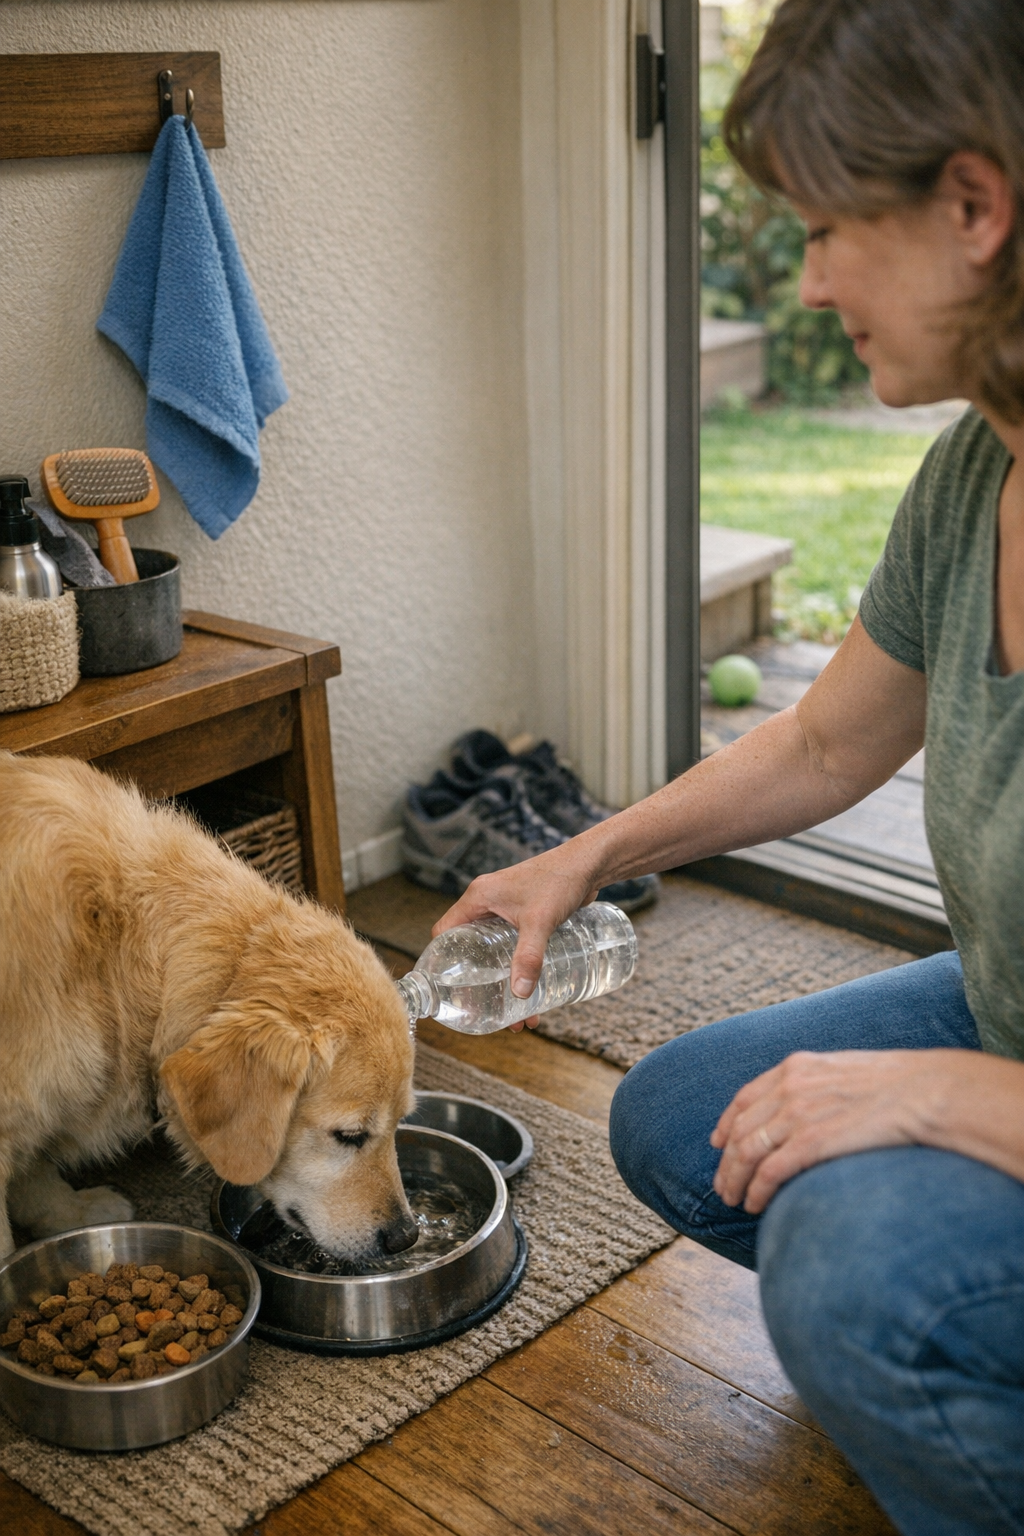
Scene: Two minutes before your first call, you reach for the water bowl—blocked by a notepad that wasn’t there yesterday. The cleanup cloth is upstairs, left to dry but forgotten, so you settle for leaving a small puddle to dry (and dread wiping it later, after work, when you’re less patient). Multiply these moments by a week, and a routine built for calm becomes a source of minor, recurring frustration—not visible mess, but time-slowing interruptions that eat away at the day.
Comfort in One Area Can Undermine Others
Hiding supplies seems smart—until you need them mid-routine with a distracted dog pacing circles or a cat darting underfoot. The more doors and bins between you and a brush or wipe, the more steps pile on. True: a tidy look can cover awkwardness, but it only works if you never have to reach for anything quickly with your hands full.
Observation: After a walk, drying off your dog is seamless—if the towel actually hangs near the entry. The next day, it’s balled up across the house in a laundry basket. Now, wet paws trail halfway through the kitchen before you even grab the towel. Sudden extra cleaning wasn’t part of the plan.
When Looking Tidy Isn’t the Same as Working Smoothly
Order on paper doesn’t guarantee order under use. A storage bin hides gear, but its stiff lid guarantees supplies won’t actually go back in after a rushed feeding or grooming. Anything stored too low, too high, or behind another object becomes a daily obstacle—and leads to pet tools drifting right back onto counters or floors.
Real-life pattern: Every time you want the grooming spray, you shuffle aside treat jars and a looped leash to reach it. Later, the water bowl sits empty because the refill bottle is stuck behind a stack of mail. Small holdups, but constant: the point where order collapses into a slower, piecemeal routine.
Gaps That Keep Coming Back
The same weakness returns, even after you try to tidy up. Skipping just one step—like putting the wipe-up cloth back where you can see it—brings the friction right back the next feeding. One hook above the feeding mat instantly solves the “missing cloth” cycle. Keeping a brush within plain sight (but out of the way) stops it from drifting room to room. Locating a refill bottle in a single, open cabinet means water isn’t skipped because of a stacked obstacle.
Tight, visible placements do more than look neater—they cut out the routine “hunt” for missing basics, stop skipped resets, and keep chores from multiplying. The goal: every key item is easy to grab, use, and return without stacking new work for later.
Practical Examples of Friction in Daily Pet Care
- After midnight, checking your pet’s water, you notice a faint ring but can’t find the cleaning cloth—it’s part of last-load laundry again. Leave the ring or promise yourself you’ll clean it later, only to meet the same smudge tomorrow.
- Coming in after a walk, you reach for grooming wipes that have slipped behind the dry food bag. The dog fidgets, paws damp, while you dig around—turning a quick reset into a minor wrestle and spreading the mess.
- The feeding zone looks neat—every item stowed away. But feeding means bouncing between a cupboard, a drawer, and a side table just to gather the essentials, stretching out what should be a quick, seamless job.
Strategies for Smoother, Less Demanding Routines
– Place most-used items—wipes, brushes, refill bottles—within direct arm’s reach of their main zone. When access slips, skips and delays pile up.
– Reset right after feeding, grooming, or walking—before puddles dry or crumbs cement into corners. Waiting turns quick cleaning into double-duty later.
– Track which tools go missing or end up awkward to grab. Small fixes—like hooks, low baskets, or divider shelves—save more effort and time than reorganizing everything.
Making Pet Care Fit Your Day Instead of Interrupting It
Real calm in daily care isn’t about keeping things out of sight. It’s about setups that flow with repeated use: the wipe you grab before the spill dries, the brush that doesn’t wander, the refill that never needs a search. If handling gets easier by midweek, the routine’s working. If it gets slower, one access or placement flaw is blocking the flow—even in a setup that looks organized. Every daily care zone inherits its friction from one or two small weaknesses, and adjusting just one habit—where the cloth lives, where the brush goes back, where supplies actually sit—can prevent slowdowns and keep routines almost invisible.
For a setup that stands up to real use, notice where friction returns and let everyday placements do the work—especially when the day’s already moving fast.