
If you’ve spent even a day using a nail gun powered by an air compressor, you’ve likely noticed there’s a “sweet spot” for pressure—where every nail sinks just right, smoothly and cleanly. Dialing in the correct air compressor PSI (pounds per square inch) for your nailer isn’t simply about matching numbers; it’s a subtle art that determines whether your work looks professional or ends up frustrating you with jams, proud nails, or damaged wood.
Understanding Why PSI Is Critical for Nailing Tools
The interaction between a nailer and its air compressor boils down to pressure, not horsepower. Each pneumatic nailer is designed to function optimally within a specified PSI range. If the pressure is too low, nails won’t drive fully—leaving them protruding or causing the nailer to jam. Too high, and you risk driving nails deep enough to damage your workpiece or even blow through thin materials.
Typically, finish and brad nailers perform well between 70 and 110 PSI, while framing nailers require a bit more, usually in the 100 to 130 PSI range. However, these ranges are starting points, not fixed rules. The type of wood or material you’re fastening plays a big role. For example, driving nails into hard maple baseboards often requires pushing pressure toward the higher end of the finish nailer range—around 110 PSI—while softer woods like pine might only need 80 PSI.
Professional carpenters typically pair an 18-gauge brad nailer with about 85 PSI for precise trim work, using fine-finish blades with 16–18 teeth per inch for clean cuts. On the other hand, framing tasks with heavier nailers and thicker nails—such as a 0.131-inch shank—commonly require 120 to 125 PSI for full penetration without material damage.
It’s also important to respect the manufacturer’s pressure specifications. Operating a tool well outside its recommended PSI risks jams, misfires, and damage to both tool and material. Understanding this balance enables more consistent, quality results.
Real-World Examples Highlighting PSI Challenges
Consider a straightforward baseboard installation I helped a friend with recently. The job should have been quick, but the nails wouldn’t set flush. It took some troubleshooting to spot the issue: the compressor was set at 65 PSI, below the 70–80 PSI sweet spot a finish nailer typically needs. After increasing the pressure to about 80 PSI, the tool drove nails beautifully, eliminating the need to hand-tap partially sunk nails and preventing damage to the trim.
A common pitfall is relying on compressor settings that worked “last time” without adjusting for the specifics of each job—such as material hardness or nail length. For instance, driving 2-inch nails into MDF at pressures under 75 PSI frequently results in nails that sit proud or cause jams, which in turn slows the work and can accelerate wear on the trigger mechanism.
Typical Nailers and Their PSI Requirements
- Brad Nailers (18 Gauge): Generally operate around 70–100 PSI. Limiting shots per minute (SPM) to under 60 helps maintain consistent pressure and precision. Use carbide tipped or high carbon steel blades to handle return cuts without dulling quickly.
- Finish Nailers (15–16 Gauge): Ideal range is 80–110 PSI. For hardwoods like maple or oak, start near 100 PSI and adjust downward if nail heads show deformation or crushing.
- Framing Nailers: Need 100–130 PSI. Engineered lumber often requires full-depth nail penetration at around 125 PSI, but watch for blow-through risks, which can be mitigated by reducing firing speed or using thicker, clipped-head nails.
- Pin Nailers: Typically operate between 60–100 PSI. In hardwoods, high pressures or SPM can shear thin pins, so test carefully before starting hard jobs.
Always use your tool’s manual as a baseline, but finalize settings by testing on scrap pieces that closely match your work material. For example, a 16-gauge finish nailer at 85 PSI suits softwood trim, but harsher materials may push the requirement toward 105 PSI for clean seating without damage.
Testing Pressure Under Realistic Conditions
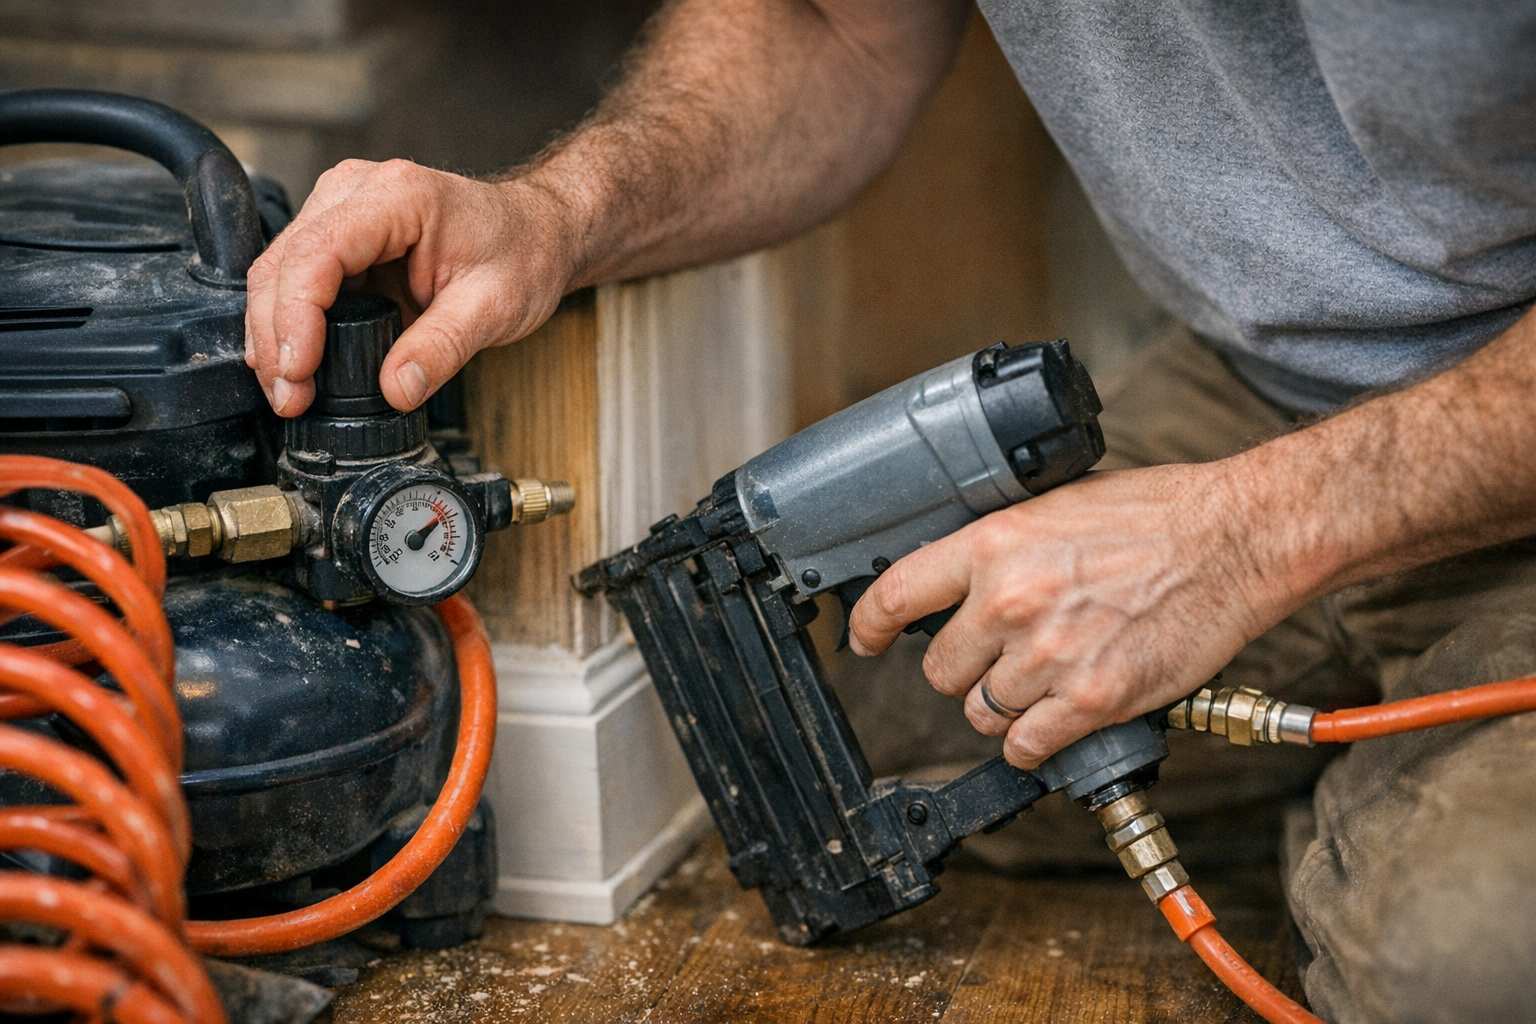
An adjustment many professionals overlook is measuring the compressor’s output pressure at the moment the tool fires—not just when it’s idling. Under load, pressure can drop 5 to 10 PSI, especially with smaller compressors or during rapid firing. If you only adjust the regulator while the compressor is resting, you might unknowingly set the tool to underperform during actual use.
To precisely dial in pressure, watch the gauge on the compressor’s regulator while firing 3 to 5 nails consecutively. Significant pressure dips may necessitate increasing the baseline setting to maintain consistent nail depth. This issue is amplified by longer hoses or when multiple users share the compressor.
Here’s a practical tip: shoot test nails into scrap and check depth after every 2 or 3 small pressure adjustments—never more than 5 PSI at a time. This gradual approach helps you zero in on the perfect balance, compensating for hose loss, compressor lag, and minor air leaks.
Helpful Signs Your PSI Needs Tweaking
- Nails sticking out: Usually caused by too-low pressure or dull nail tips.
- Blow-through: Nails exit the piece unexpectedly or sink too deeply; often a sign of excessive PSI or nails too thin for the material.
- Jamming at startup: Especially in framing nailers, can indicate insufficient pressure compounded by long or narrow air hoses.
These problems rarely require drastic changes. Often, adjusting pressure by 5 to 10 PSI and retesting resolves the issues quickly.
Managing Compressor Limits and Recovery
If you’re using a small compressor, it’s important to factor in its recovery time. During continuous nailing, a compact unit often struggles to maintain pressure, causing the PSI to drop between shots and resulting in inconsistent driving depth.
For example, a pancake-style compressor with a 1–2 gallon tank can handle light trim work with 18-gauge brads, but may stall on longer runs such as installing baseboards or door jambs. To maintain consistent performance, take brief pauses allowing the compressor to recover to 90–100 PSI. Attempting to shoot when pressure falls below 70 PSI risks semi-driven nails and potential heat buildup inside the nail gun’s mechanism.
Don’t Underestimate the Impact of Hose Length and Fittings
Many users focus only on the compressor’s reading, neglecting the effects of hose length and couplers. Long or narrow air lines cause pressure loss before the air reaches your tool. When using hoses 50 feet or longer, or low-bore quick-connect fittings, you may need to increase compressor output by an extra 5–10 PSI to compensate.
This is especially critical in fine carpentry or cabinetry, where even a 5 PSI drop can make the difference between a perfectly flush nail and one that sticks out. Upgrading to larger-bore hoses (3/8 inch or greater) and high-flow connectors reduces pressure loss and improves tool response, especially on runs over 25 feet.
A Refresh Tip: Approach Each Project With Fresh Tests
Even if you’re experienced with your tools, approach each project as a new puzzle requiring its own setup calibration. Changes in wood species, humidity, nail type, or even compressor wear can subtly shift pressure needs. Starting with fresh, incremental tests on project-specific scrap material—rather than relying on past settings—helps uncover hidden variables and ensures your pressure setup suits every circumstance.
This mindset shift from “set it and forget it” to “test and adjust” transforms how you approach pneumatic nailing, boosting both quality and confidence before you commit your nailer to the workpiece.
Conclusion: Fine-Tuning PSI for Smooth, Professional Results
Proper air compressor PSI tuning for your nailer goes beyond strict adherence to specifications. It requires attention to material type, nail size, tool characteristics, hose length, and compressor capabilities under load. Paying attention to subtle signals—like nails not seating properly, blow-through, or tool jams—and methodically adjusting pressure in small increments leads to consistent, clean results.
Testing on scrap material, monitoring pressure during actual use, and factoring in equipment limitations will save time, reduce frustration, and help you avoid common pitfalls. With the right approach, the difference between an average job and a professional finish lies within just a few pounds per square inch.